Easy No-Churn Salted Caramel Ice Cream – Best Homemade Dessert
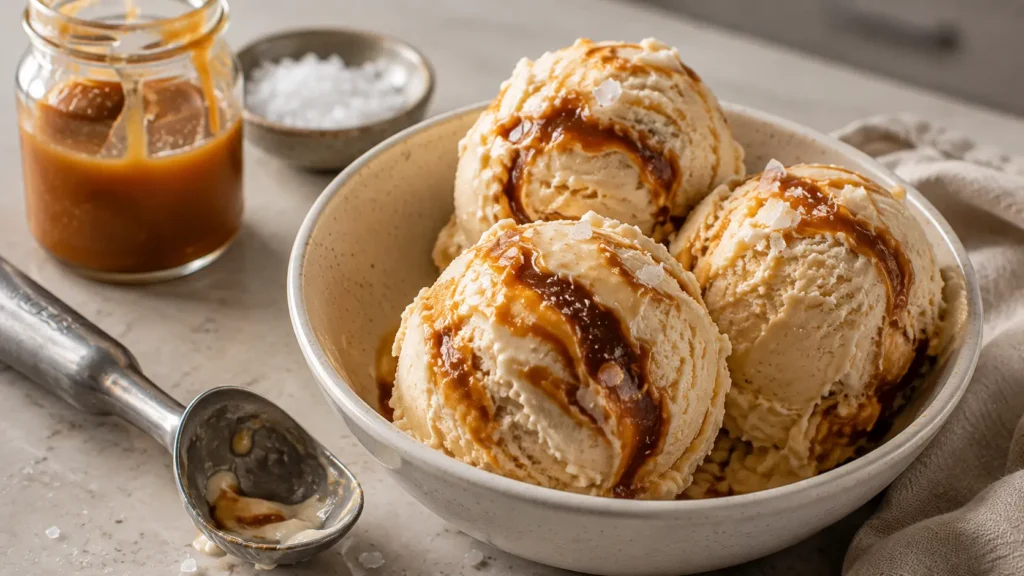
Creamy homemade ice cream without an ice cream machine? This No-Churn Salted Caramel Ice Cream gives you thick ribbons of buttery caramel, tiny pops of flaky sea salt, and an incredibly smooth vanilla-caramel base using a simple freezer method anyone can make at home. No custard, no eggs, and no special ice cream maker required.
The base comes together with whipped heavy cream and sweetened condensed milk, while homemade salted caramel is cooled and folded through in two stages. Some caramel flavors the ice cream itself, while the rest is swirled through before freezing, giving every scoop a slightly different combination of creamy vanilla and deep caramel.
Make it the night before, freeze until firm, and you’ll have a genuinely impressive homemade dessert waiting in the freezer.
Easy Homemade Salted Caramel Ice Cream Without a Machine
Traditional ice cream usually depends on a churner to incorporate air while preventing large ice crystals from forming.
No-churn ice cream uses a different technique.
Heavy whipping cream is whipped until it holds soft-to-medium peaks. That incorporates the air needed for a lighter frozen texture.
Sweetened condensed milk provides both sweetness and a concentrated milk base without adding excess water.
When the two are folded together carefully, you get a creamy mixture that freezes surprisingly well without churning.
The salted caramel is where this version becomes especially good. Rather than simply pouring caramel over vanilla ice cream at serving time, we’re incorporating it directly into the base and creating irregular caramel ribbons throughout.
If caramel is your favorite dessert flavor, Caramel Panna Cotta is another creamy make-ahead dessert worth trying.
Why You’ll Love This Salted Caramel Ice Cream
🍨 No Ice Cream Machine
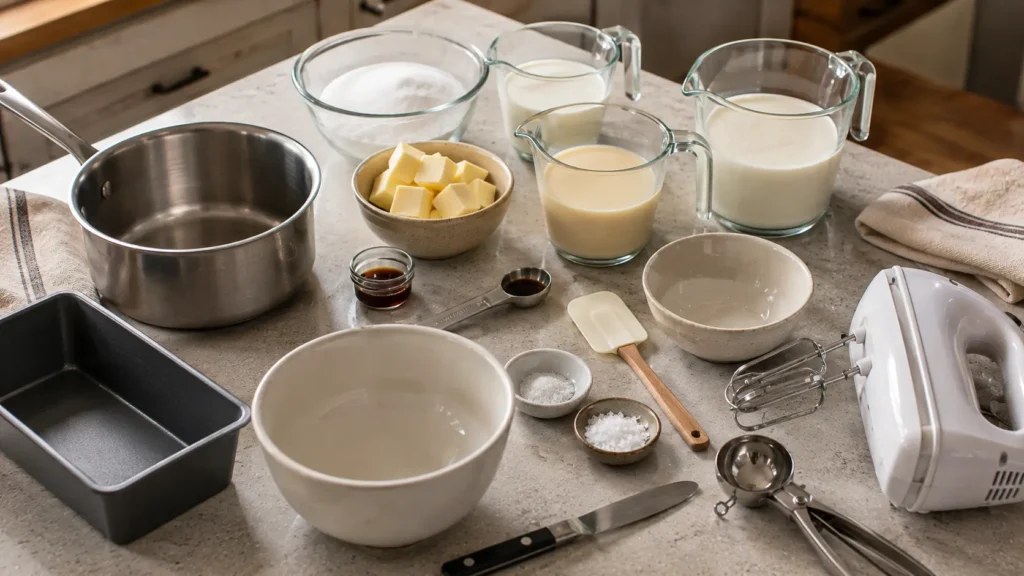
You only need a mixer, bowls, and a freezer-safe loaf pan or container.
🧂 Sweet + Salty
Flaky sea salt balances the sweetness of both the condensed milk and caramel.
🤎 Real Caramel Swirls
The caramel isn’t merely a topping—it runs throughout the ice cream.
🥄 Rich and Creamy
Whipped cream gives the frozen base a soft, scoopable texture after a brief rest at room temperature.
🥚 No Eggs or Custard
There’s no tempering eggs or cooking an ice cream custard.
🌙 Perfect Make-Ahead Dessert
Prepare it the day before and let the freezer do the rest.
Ingredients
Heavy Whipping Cream
Use 2 cups cold heavy whipping cream.
Keep it refrigerated until you’re ready to whip it.
Cold cream traps air considerably better than warm cream.
Sweetened Condensed Milk
Use 1 can (14 ounces) sweetened condensed milk.
Make sure you’re using sweetened condensed milk—not evaporated milk.
The two are very different products.
Vanilla Extract
Use 2 teaspoons pure vanilla extract.
Vanilla rounds out the caramel and gives the creamy base more depth.
Fine Sea Salt
Use ¼ teaspoon fine sea salt in the ice cream base.
The caramel also contains salt, so keep the amount restrained.
Homemade Salted Caramel
Granulated Sugar
Use 1 cup granulated sugar.
This forms the foundation of the caramel.
Unsalted Butter
Use 6 tablespoons unsalted butter, cut into pieces.
Having it portioned before you begin is important because caramel moves quickly once the sugar reaches the correct color.
Heavy Cream
Use ½ cup heavy cream, preferably at room temperature.
Very cold cream can make hot caramel seize more aggressively.
Fine Sea Salt
Use ½ teaspoon fine sea salt.
Flaky Sea Salt
Use approximately ¼ teaspoon flaky sea salt for finishing.
You can adjust this according to taste.
How to Make No-Churn Salted Caramel Ice Cream
1. Prepare Your Pan
Line a standard approximately 9 × 5-inch loaf pan with parchment paper if desired.
You can also use a freezer-safe container with a tight-fitting lid.
2. Prepare the Caramel Ingredients
Measure the butter, cream, and salt before you begin cooking the sugar.
Caramel requires your attention, so you don’t want to search for ingredients halfway through.
3. Melt the Sugar
Add 1 cup granulated sugar to a clean, dry, heavy-bottomed saucepan.
Heat over medium heat.
As the sugar begins melting around the edges, gently stir with a heat-resistant silicone spatula or wooden spoon.
4. Continue Cooking
The sugar will form clumps before eventually melting into a smooth amber liquid.
Keep stirring gently and watch the color carefully.
5. Stop at Deep Amber
Once the caramel reaches a rich amber color, immediately reduce or remove the heat.
Don’t wait until it becomes extremely dark.
Burned caramel becomes unpleasantly bitter.
6. Add the Butter
Carefully add the butter pieces.
The caramel will bubble vigorously.
Stir until the butter is incorporated.
7. Add the Cream
Slowly pour in ½ cup heavy cream while stirring carefully.
Again, expect vigorous bubbling.
8. Finish the Caramel
Stir in ½ teaspoon fine sea salt.
Return to low heat briefly if necessary and stir until completely smooth.
9. Cool Completely
Transfer the caramel to a heat-safe bowl or jar.
Allow it to cool completely.
This step is essential.
Warm caramel can deflate the whipped cream and compromise the texture of your ice cream.
10. Chill Your Mixing Bowl
For easier whipping, place your mixing bowl and beaters in the refrigerator or freezer briefly.
11. Whip the Cream
Pour 2 cups cold heavy whipping cream into the chilled bowl.
Beat until soft peaks begin to form.
12. Continue to Medium Peaks
Continue whipping just until the cream holds medium peaks.
Don’t take it all the way to a stiff, grainy texture.
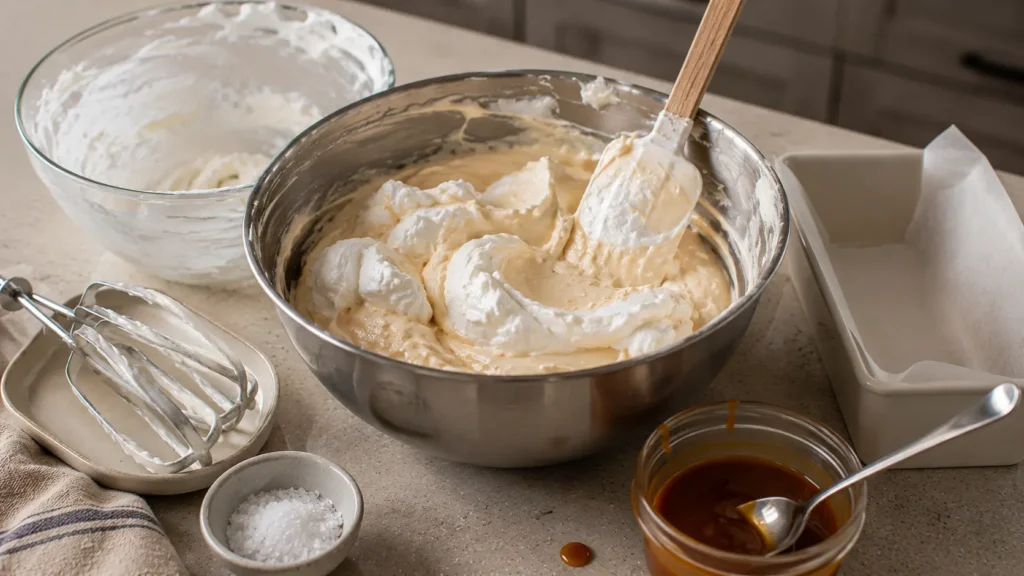
13. Prepare the Condensed Milk Mixture
In a separate large bowl, combine:
- sweetened condensed milk
- vanilla extract
- ¼ teaspoon fine sea salt
Stir until smooth.
14. Add Some Caramel
Stir approximately ⅓ cup completely cooled salted caramel into the condensed milk mixture.
Don’t add hot caramel.
15. Lighten the Mixture
Fold approximately one-third of the whipped cream into the condensed milk mixture.
This loosens it and makes incorporating the remaining cream easier.
16. Fold in Remaining Cream
Add the remaining whipped cream in two additions.
Use a large spatula and fold gently.
Avoid aggressive stirring, which removes the air you’ve whipped into the cream.
17. Stop Before It’s Perfectly Uniform
A few tiny streaks are fine.
Overmixing is worse than having a slightly imperfect mixture.
18. Add the First Layer
Spread approximately one-third of the ice cream base into the loaf pan.
19. Add Caramel
Drizzle several spoonfuls of cooled caramel irregularly over the surface.
20. Repeat
Add another layer of ice cream base followed by more caramel.
21. Add Final Layer
Spread the remaining base over the top.
22. Create the Caramel Swirl
Spoon additional caramel over the surface.
Run a butter knife through it only 2–3 times.
Don’t aggressively mix.
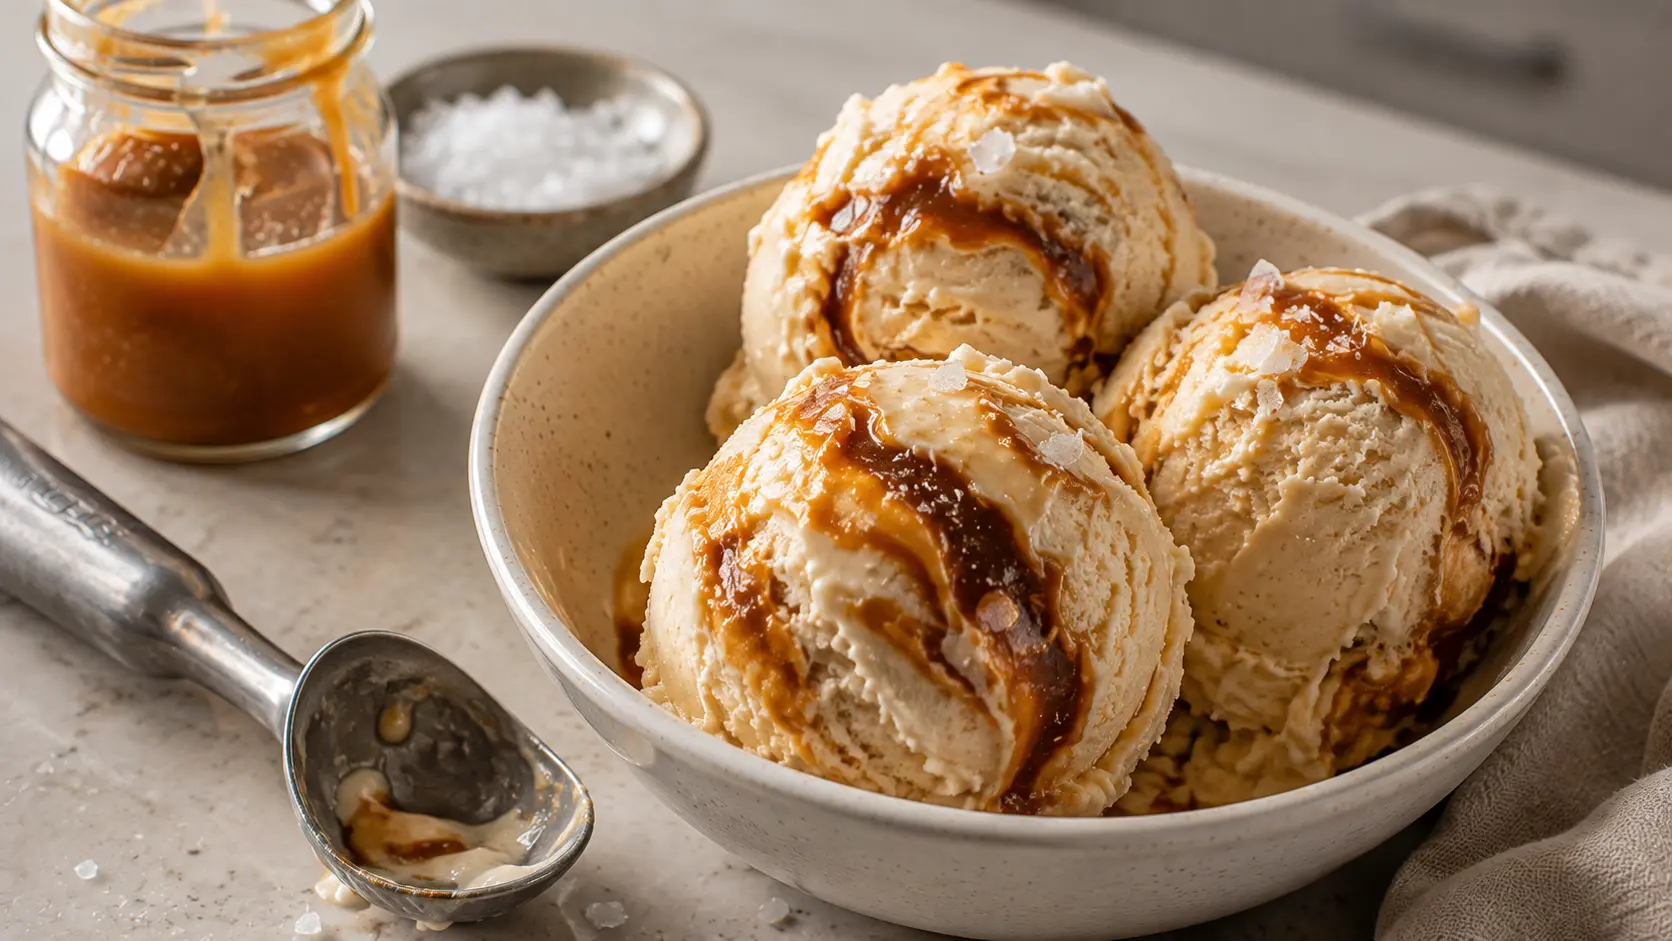
You want visible caramel ribbons rather than uniformly caramel-colored ice cream.
23. Add Flaky Salt
Finish with a very restrained pinch of flaky sea salt.
24. Cover
Cover the surface tightly with plastic wrap or use a freezer-safe lid.
25. Freeze
Freeze for at least 6 hours, preferably overnight.
26. Soften Before Scooping
Remove the ice cream from the freezer approximately 5–10 minutes before serving.
This makes scooping easier.
27. Serve
Scoop into chilled bowls or cones.
Add a small drizzle of leftover caramel and a few flakes of sea salt if desired.
Equipment
You’ll need:
- Heavy-bottomed saucepan
- Heat-resistant spatula or wooden spoon
- Heat-safe bowl or jar
- Large mixing bowl
- Second mixing bowl
- Electric hand mixer or stand mixer
- Silicone spatula
- Measuring cups and spoons
- 9 × 5-inch loaf pan or freezer-safe container
- Butter knife
- Ice cream scoop
How to Make No-Churn Ice Cream Creamy
The biggest enemy of homemade no-churn ice cream is excess water.
That’s one reason sweetened condensed milk works so well—it provides concentrated milk solids and sugar without requiring you to add ordinary milk.
Whipping the cream also matters.
Under-whipped cream doesn’t hold enough air, while severely over-whipped cream begins turning grainy and eventually becomes butter.
Aim for peaks that hold their shape but still look smooth.
Finally, fold gently.
Once you’ve incorporated air into the cream, you want to preserve as much of it as possible.
The Secret to Real Caramel Ribbons
The caramel must be completely cool before it touches the whipped ice cream base.
Then resist the temptation to stir everything together.
Layer the ice cream and caramel separately, and use only a few passes of a knife.
Too much swirling turns the entire mixture tan and eliminates the distinct caramel pockets.
The best scoop should contain creamy vanilla-caramel ice cream with darker amber ribbons running irregularly through it.
Caramel Safety
Hot caramel is considerably hotter than boiling water and can cause serious burns.
Use a deep enough saucepan because the mixture bubbles aggressively when butter and cream are added.
Add the cream slowly and keep your face and hands away from the steam and bubbling caramel.
Never touch hot caramel to test it.
Allow it to cool before tasting.
Variations
Salted Caramel Chocolate Chip
Fold ½ cup mini chocolate chips into the finished base before layering.
Salted Caramel Pretzel
Add crushed pretzels between the layers for salty crunch.
For best texture, serve this variation relatively soon after freezing because pretzels soften over time.
Caramel Pecan
Add approximately ½ cup toasted chopped pecans.
Chocolate Salted Caramel
Fold finely chopped dark chocolate into the base.
Coffee Salted Caramel
Dissolve a small amount of instant espresso powder into the condensed milk mixture for a coffee-caramel flavor.
If you’re after an actual iced coffee instead, the Brown Sugar Oat Milk Iced Espresso gives you that caramel-like coffee profile in drink form.
Pro Tips
Keep the whipping cream cold. It will whip faster and hold more volume.
Cool the caramel completely. Warm caramel can ruin the airy base.
Don’t over-whip the cream. Stop before it becomes grainy.
Fold rather than stir. Preserve those air bubbles.
Don’t over-swirl. A few passes create better caramel ribbons.
Use a metal loaf pan. It conducts cold efficiently and freezes the mixture well.
Cover tightly. This helps prevent freezer odors and surface ice crystals.
Let it soften briefly. Five to ten minutes makes a dramatic difference when scooping.
Storage
Keep the ice cream tightly covered in the freezer.
For the best texture and flavor, enjoy it within approximately 2 weeks.
It remains safe longer when continuously frozen, but homemade no-churn ice cream generally develops more ice crystals and loses quality over time.
Pressing plastic wrap or parchment directly against the surface can help reduce exposure to air.
What to Serve with Salted Caramel Ice Cream
This ice cream is rich enough to serve completely on its own.
For something extra, try:
- toasted pecans
- crushed pretzels
- dark chocolate shavings
- a small caramel drizzle
- flaky sea salt
- warm brownies
- apple crisp
For a fall dessert combination, a scoop would be especially good alongside Cinnamon Apple Galette, where cold salted caramel ice cream contrasts beautifully with warm baked apples and flaky pastry.
Frequently Asked Questions
Do I need an ice cream maker?
No.
This recipe is specifically designed to freeze without churning.
Can I use store-bought caramel?
Yes, although homemade caramel gives you greater control over flavor and salt.
Choose a thick caramel sauce rather than a very thin syrup.
Why is my no-churn ice cream hard?
Very cold freezers can make no-churn ice cream quite firm.
Let it stand at room temperature for 5–10 minutes before scooping.
Why is my ice cream icy?
The whipped cream may have lost too much air, or excess liquid may have been introduced.
Make sure your caramel is cool and fairly thick.
Can I make it without salt?
Yes.
You’ll simply have caramel ice cream rather than salted caramel ice cream.
Can I use evaporated milk instead of condensed milk?
No.
Sweetened condensed milk and evaporated milk aren’t interchangeable in this recipe.
How long does no-churn ice cream need to freeze?
At least 6 hours, although overnight gives the most reliable texture.
Approximate Nutrition
Per serving, based on approximately 10 servings:
- Calories: ~390
- Protein: ~4 g
- Carbohydrates: ~38 g
- Fat: ~25 g
- Sugar: ~36 g
Nutrition is an estimate and varies according to the cream, condensed milk, butter, and amount of caramel used.
Easy No-Churn Salted Caramel Ice Cream
Ingredients
Method
- Add sugar to a clean heavy-bottomed saucepan over medium heat.
- Cook, gently stirring as needed, until the sugar melts into a deep amber liquid.
- Carefully add butter and stir until incorporated.
- Slowly add heavy cream while stirring carefully.
- Stir in ½ teaspoon fine sea salt.
- Remove from heat and transfer caramel to a heat-safe container.
- Cool completely.
- Chill a mixing bowl and beaters if desired.
- Beat 2 cups cold heavy whipping cream until smooth medium peaks form.
- In a separate bowl, combine condensed milk, vanilla, and ¼ teaspoon salt.
- Stir ⅓ cup completely cooled salted caramel into the condensed milk.
- Fold one-third of the whipped cream into the condensed milk mixture.
- Gently fold in remaining whipped cream in two additions.
- Spread one-third of the ice cream mixture into a 9 × 5-inch loaf pan.
- Drizzle with cooled caramel.
- Repeat with another layer of ice cream and caramel.
- Add remaining ice cream base.
- Spoon additional caramel over the surface.
- Swirl gently with a butter knife 2–3 times.
- Finish with a restrained pinch of flaky sea salt.
- Cover tightly.
- Freeze at least 6 hours or overnight.
- Let stand at room temperature for 5–10 minutes before scooping.