Viral No-Bake Biscoff Cheesecake
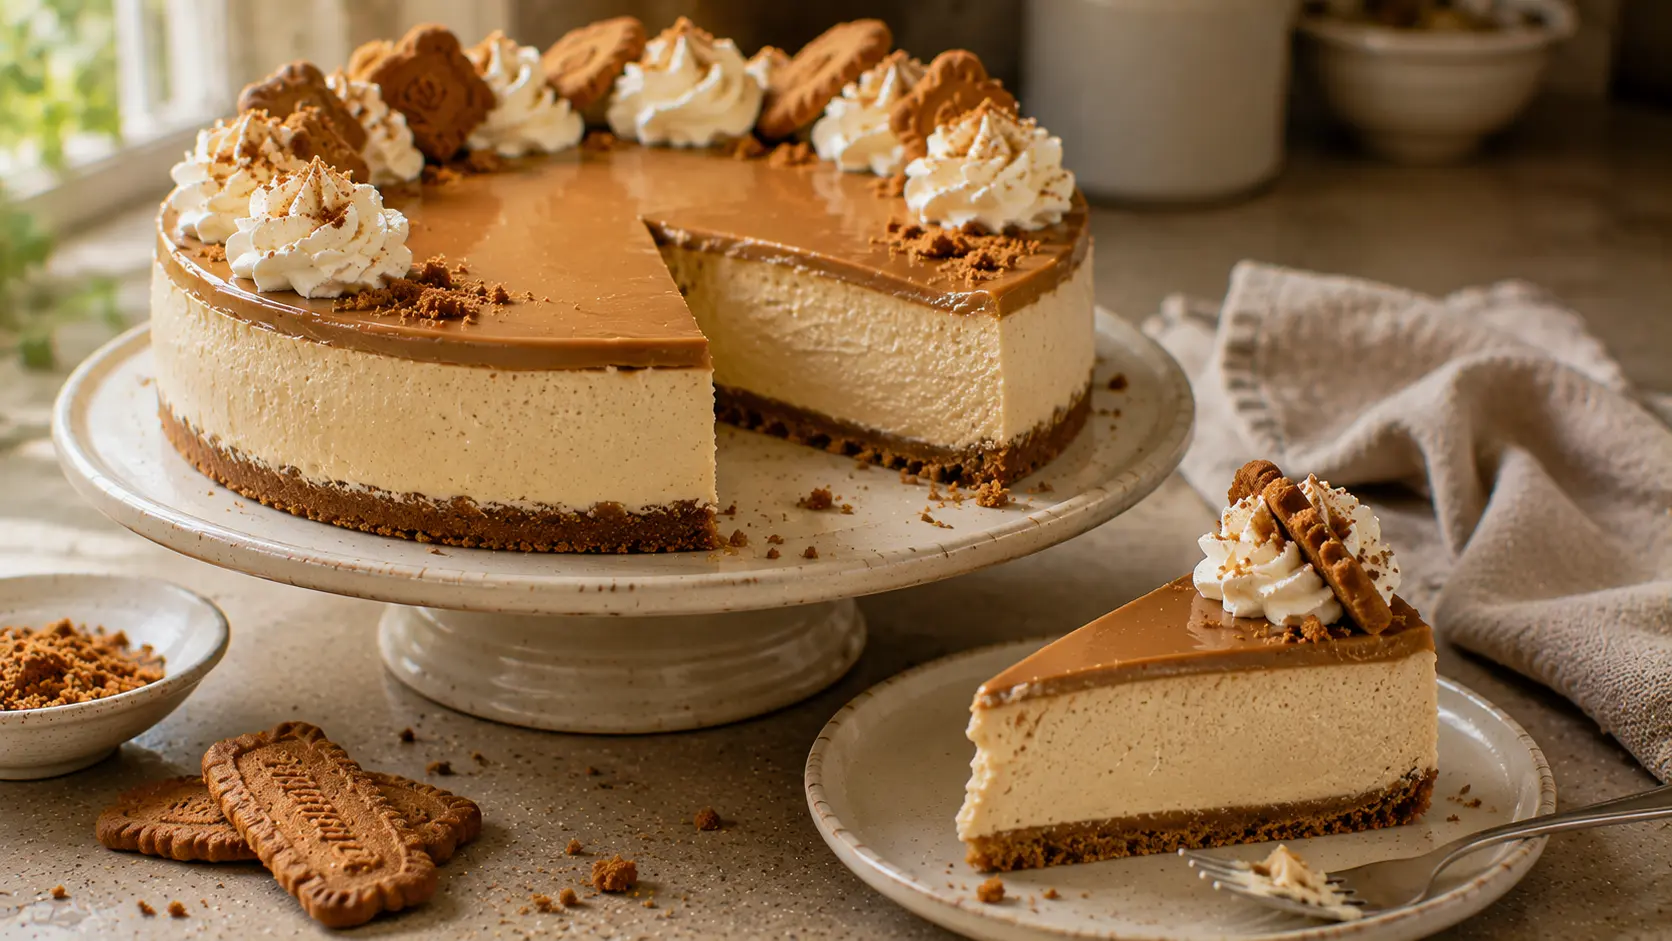
This No-Bake Biscoff Cheesecake has a buttery Biscoff cookie crust, an ultra-creamy cookie butter cheesecake filling, and a glossy layer of melted Biscoff spread on top.
There’s no oven required, making it an easy make-ahead dessert that’s perfect for parties, holidays, summer gatherings, or whenever you’re craving something rich and creamy.
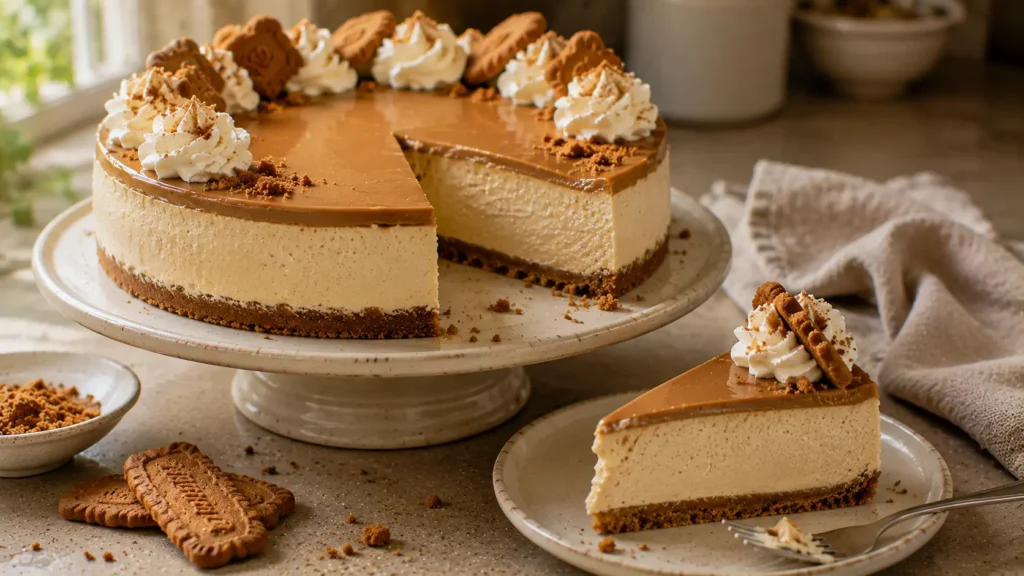
The secret to getting clean slices is giving the cheesecake enough time to chill. Once fully set, every slice reveals three beautiful layers: crunchy cookie crust, creamy cheesecake filling, and smooth cookie butter topping.
Easy No-Bake Biscoff Cheesecake
If you love cookie butter, this cheesecake puts it front and center.
The crust starts with crushed Biscoff cookies mixed with melted butter. It’s pressed firmly into a springform pan and chilled while you prepare the filling.
For the cheesecake layer, softened cream cheese is beaten with powdered sugar, vanilla, and Biscoff spread. Whipped cream is then folded through the mixture to give it a lighter, mousse-like texture while still being rich enough to slice.
After chilling, melted Biscoff spread creates the signature glossy topping.
It’s simple, impressive, and requires no baking.
⭐ Why You’ll Love This Recipe
- Completely no-bake
- Rich Biscoff cookie flavor
- Creamy cheesecake filling
- Crunchy cookie crust
- Easy make-ahead dessert
- No gelatin required
- Beautiful layered slices
- Great for parties
- Uses simple ingredients
- Perfect for Biscoff lovers
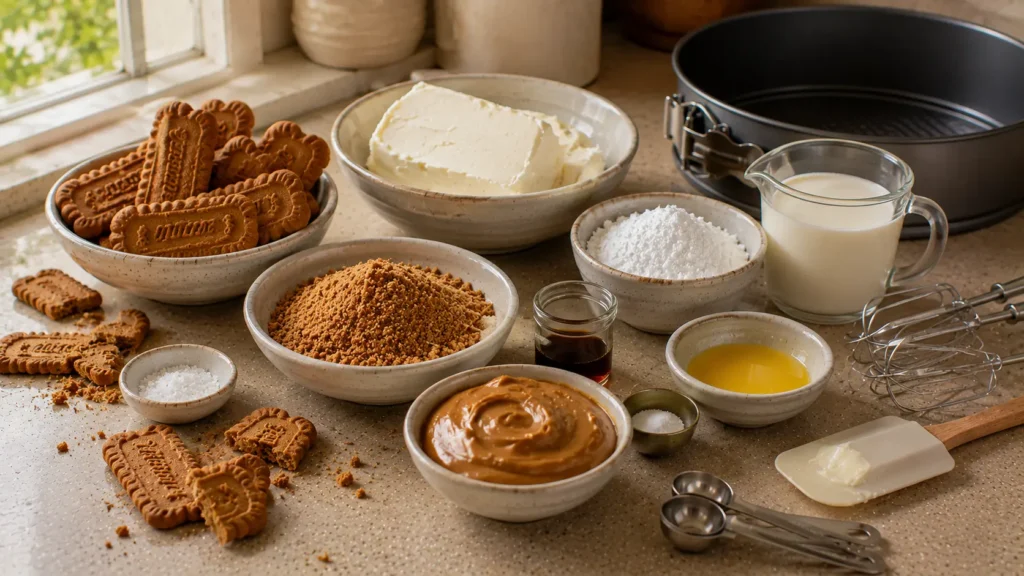
🛒 Ingredients & Substitutions
For the Biscoff Crust
Biscoff cookies – Crush them finely to create the base.
Unsalted butter – Melted butter binds the cookie crumbs together.
For the Cheesecake Filling
Cream cheese – Use full-fat block-style cream cheese and allow it to soften to room temperature.
Biscoff cookie butter spread – Smooth spread works best for creating a creamy filling.
Powdered sugar – Sweetens the filling while dissolving easily.
Heavy whipping cream – Whipped separately before being folded into the cheesecake mixture.
Vanilla extract – Adds warmth and balances the cookie butter flavor.
Salt – Just a small pinch helps balance the sweetness.
For the Topping
Biscoff spread – Gently warmed until pourable.
Biscoff cookies – Use whole cookies, broken pieces, or crumbs for decoration.
👩🍳 How to Make No-Bake Biscoff Cheesecake
1. Crush the Cookies
Place the Biscoff cookies in a food processor.
Process until they become fine crumbs.
Alternatively, place them in a sealed bag and crush them with a rolling pin.
2. Make the Crust
Combine the cookie crumbs with melted butter.
Stir until the texture resembles damp sand.
3. Press Into the Pan
Transfer the mixture to a 9-inch springform pan.
Press firmly and evenly across the bottom.
Use the flat bottom of a measuring cup or glass to compact the crumbs.
Refrigerate while preparing the filling.
4. Beat the Cream Cheese
Place softened cream cheese in a large mixing bowl.
Beat until smooth.
Add the powdered sugar, vanilla, and a small pinch of salt.
Beat again until creamy.
5. Add the Biscoff Spread
Add the cookie butter.
Mix until completely incorporated.
The filling should be smooth and pale caramel-brown.
6. Whip the Cream
In a separate cold bowl, whip the heavy cream until stiff peaks form.
Don’t overbeat it.
7. Fold Everything Together
Add approximately one-third of the whipped cream to the cream cheese mixture and gently fold.
Continue adding the remaining cream in portions.
Fold until evenly combined without aggressively stirring out all the air.
8. Fill the Cheesecake
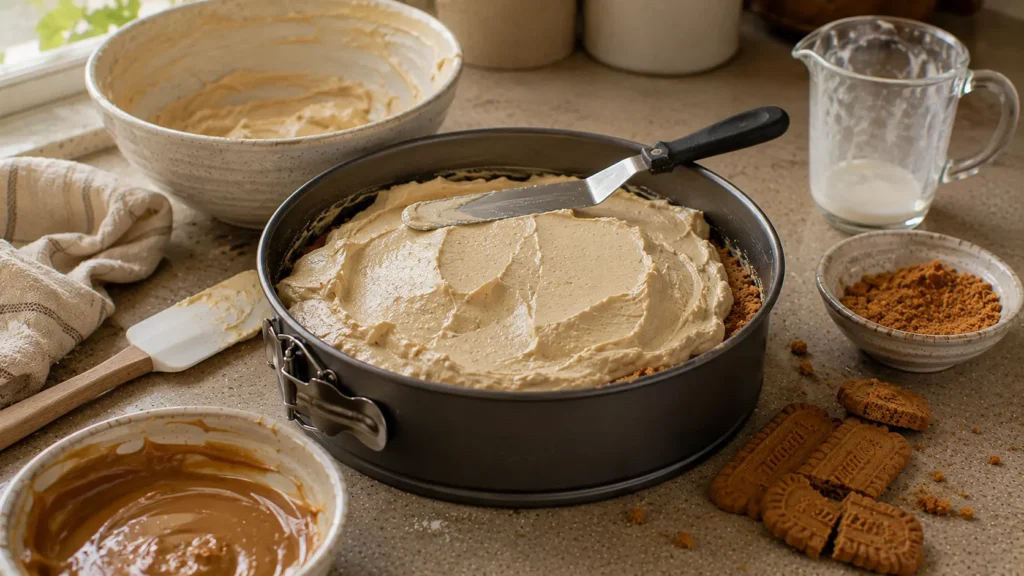
Transfer the filling onto the chilled crust.
Spread it evenly with an offset spatula.
Smooth the top without pressing excessively.
9. Chill
Cover and refrigerate for at least 6 hours, preferably overnight.
This is important for clean slices.
10. Add the Biscoff Topping
Warm the Biscoff spread briefly until it becomes pourable but isn’t hot.
Pour it over the chilled cheesecake.
Gently spread it toward the edges.
Return the cheesecake to the refrigerator for approximately 20–30 minutes.
11. Decorate
Finish with Biscoff cookie crumbs or broken cookie pieces.
For an extra-special presentation, pipe small whipped cream swirls around the edge and place cookie pieces between them.
12. Slice
Run a sharp knife under hot water and wipe it dry.
Cut the cheesecake, cleaning the knife between slices for cleaner layers.
✨ Variations
Mini Biscoff Cheesecakes
Prepare individual cheesecakes in muffin liners or dessert glasses.
Chocolate Biscoff Cheesecake
Add melted dark chocolate to the cheesecake filling.
Biscoff Caramel Cheesecake
Add a restrained drizzle of caramel sauce before serving.
Biscoff Banana Cheesecake
Add freshly sliced banana when serving individual slices.
Biscoff Cheesecake Cups
Layer cookie crumbs and cheesecake filling in small glasses instead of using a springform pan.
Extra-Crunchy Version
Reserve some roughly crushed cookies and fold them gently into the filling.
🔥 Tips for the Best No-Bake Cheesecake
Use block-style cream cheese. Soft spreadable cream cheese can make the filling too loose.
Bring the cream cheese to room temperature. Cold cream cheese can leave lumps.
Whip the cream properly. Stiff peaks give the cheesecake structure.
Fold gently. You want to retain the air in the whipped cream.
Pack the crust firmly. This prevents it from falling apart when sliced.
Don’t rush the chilling time. Overnight chilling produces the cleanest slices.
Don’t overheat the topping. The Biscoff spread only needs to become pourable.
Use a warm clean knife. This makes a major difference when cutting cheesecake.
❄️ Storage
Refrigerator
Store the cheesecake covered in the refrigerator for up to approximately 4 days.
Keep it refrigerated until close to serving.
Freezer
No-bake Biscoff cheesecake can also be frozen.
Freeze individual slices in airtight containers for up to approximately 1 month for best quality.
Thaw overnight in the refrigerator.
Make Ahead
This is an excellent make-ahead dessert.
Prepare the cheesecake the day before serving and let it chill overnight. Add decorations closer to serving for the freshest presentation.
❓ FAQs
What is Biscoff cheesecake?
Biscoff cheesecake is a cheesecake flavored with Lotus Biscoff cookie butter and typically made with a crust of crushed Biscoff cookies.
Does No-Bake Biscoff Cheesecake need gelatin?
Not necessarily. This version uses properly whipped heavy cream and full-fat cream cheese to create enough structure after thorough chilling.
Why isn’t my no-bake cheesecake setting?
The cream may not have been whipped enough, the filling may have been overmixed, or the cheesecake may simply need additional chilling time.
How long does Biscoff cheesecake need to chill?
Give it at least 6 hours, although overnight is preferable.
Can I make it without a springform pan?
Yes. You can make it in a pie dish or prepare individual cheesecake cups in glasses.
Can I use crunchy Biscoff spread?
Yes, although smooth cookie butter creates the most uniform filling and topping.
How do I get clean cheesecake slices?
Use a sharp knife warmed under hot water. Dry the knife before cutting and clean it between every slice.
No-Bake Biscoff Cheesecake
Ingredients
Method
- Crush the Biscoff cookies into fine crumbs.
- Combine the crumbs with melted butter until evenly moistened.
- Press firmly into the bottom of a 9-inch springform pan and refrigerate while preparing the filling.
- Beat the softened cream cheese until completely smooth.
- Add the powdered sugar, vanilla, and salt and beat until combined.
- Add the Biscoff spread and mix until smooth.
- In a separate cold bowl, whip the heavy cream until stiff peaks form.
- Gently fold the whipped cream into the cream cheese mixture in several additions.
- Transfer the filling onto the chilled cookie crust.
- Spread evenly and smooth the surface.
- Cover and refrigerate for at least 6 hours, preferably overnight.
- Gently warm the Biscoff spread for the topping just until pourable.
- Pour it over the completely chilled cheesecake and gently spread across the surface.
- Refrigerate for another 20–30 minutes.
- Decorate with Biscoff cookie crumbs, broken cookies, and whipped cream if desired.
- Slice with a warm clean knife and serve chilled.