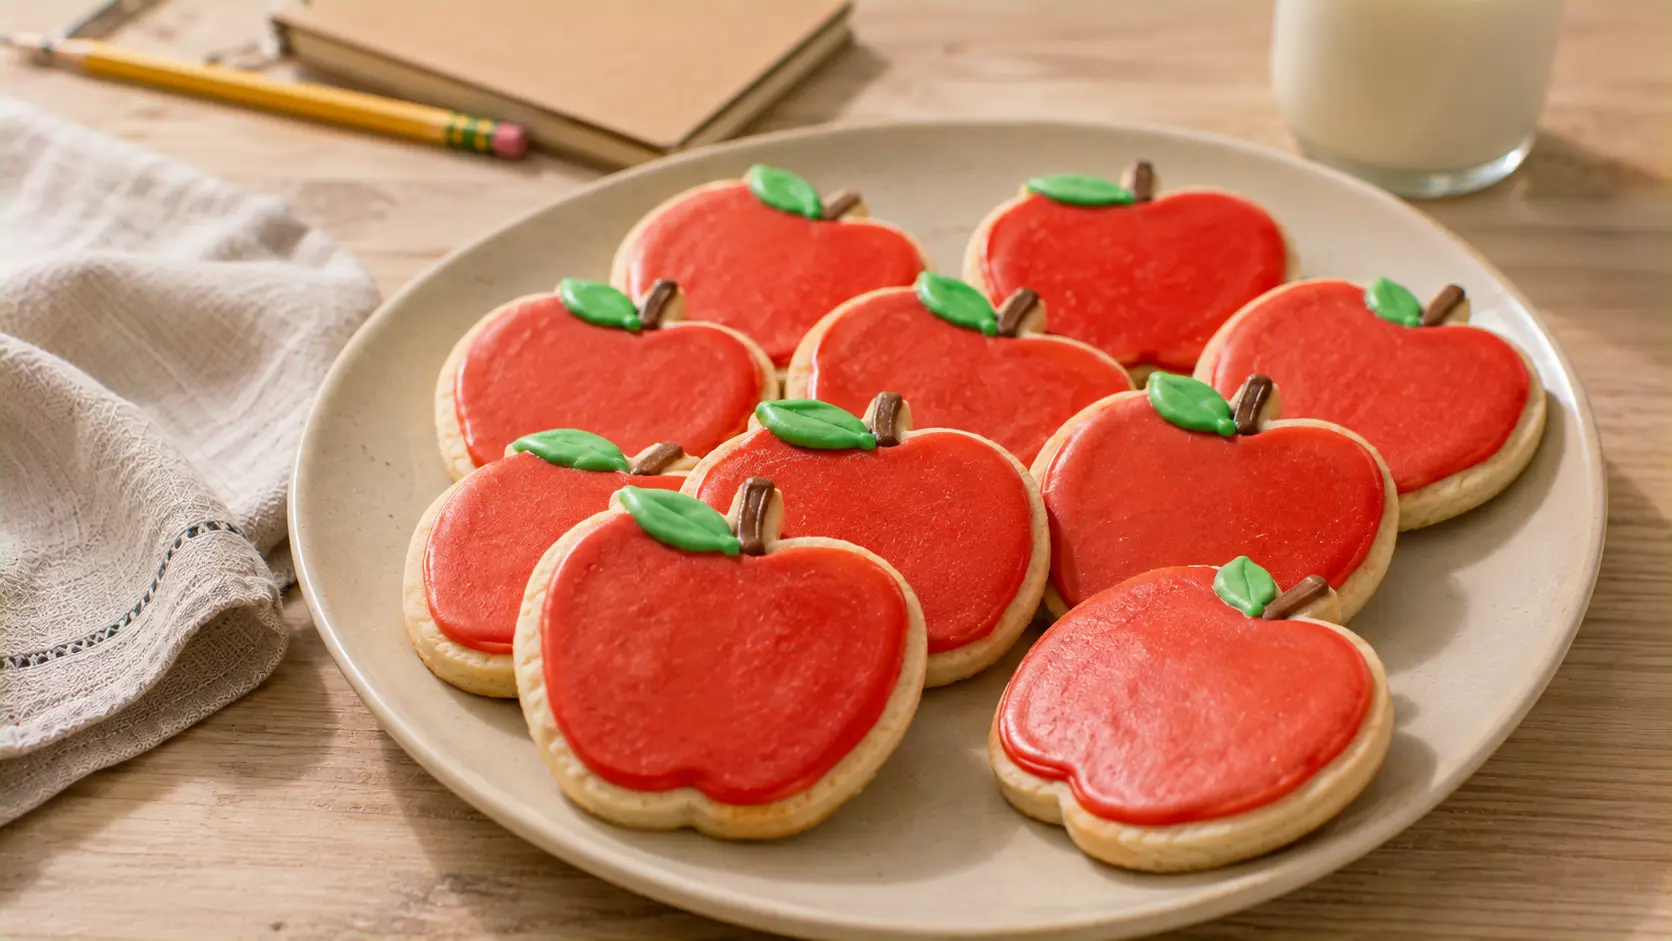
Apple-Shaped Back-to-School Sugar Cookies
These Apple-Shaped Back-to-School Sugar Cookies are soft, buttery cut-out cookies decorated with simple red icing, green leaves, and little brown stems. They’re a fun treat for the first week of school, classroom celebrations, lunch boxes, or an after-school surprise.
The cookie dough is designed to hold its shape while baking, so the apples stay recognizable instead of spreading across the baking sheet.
Easy Back-to-School Apple Cookies
Nothing says back-to-school quite like the classic red apple.
Instead of making an elaborate decorated cookie that requires professional piping skills, these cookies keep things relatively simple.
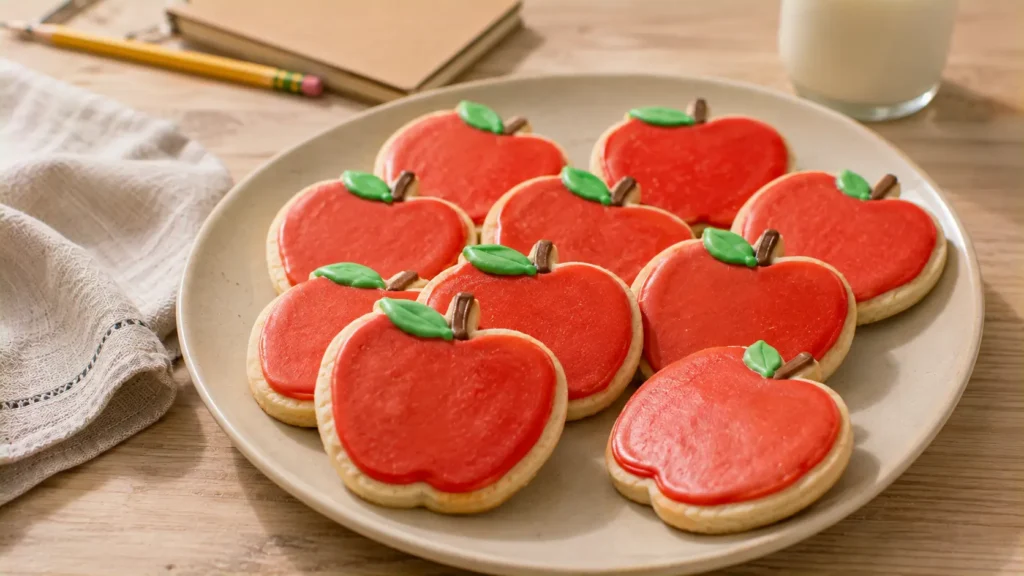
The buttery vanilla sugar-cookie dough is rolled out and cut into apple shapes. After baking and cooling, each cookie gets a layer of red icing, a small green leaf, and a brown stem.
The finished cookies are colorful enough for a back-to-school celebration while still looking homemade.
⭐ Why You’ll Love This Recipe
- Perfect back-to-school treat
- Soft buttery sugar cookies
- Dough holds its shape
- Easy apple design
- Fun for lunch boxes
- Great for classroom parties
- Can be made ahead
- Freezer-friendly undecorated
- Simple vanilla flavor
- No complicated decorating required
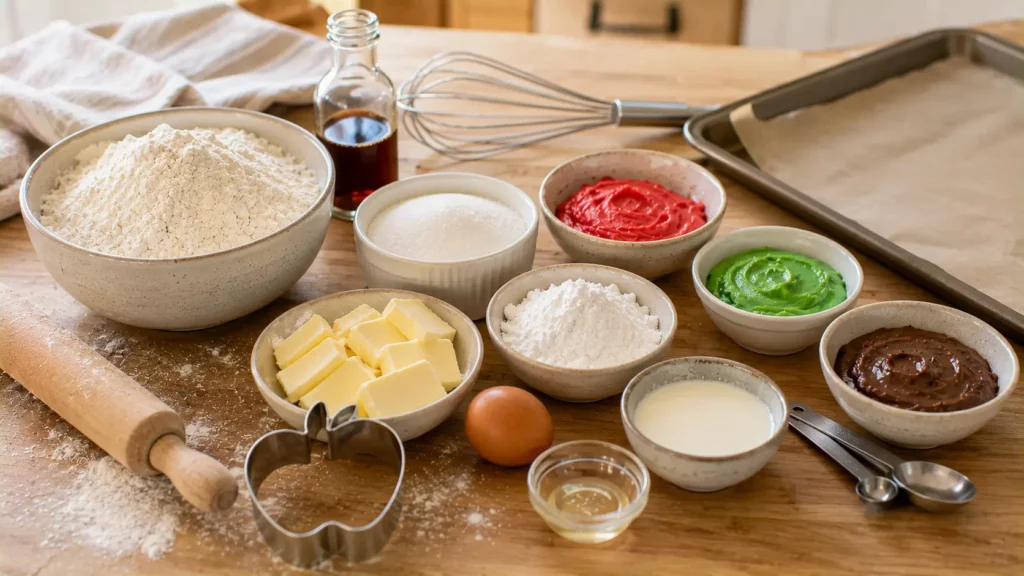
🛒 Ingredients
For the Sugar Cookies
Unsalted butter – Use softened butter rather than melted butter.
Granulated sugar – Provides sweetness and helps create tender cookies.
Egg – Gives the dough structure.
Vanilla extract – Provides the main flavor.
All-purpose flour – The base of the dough.
Baking powder – Just a small amount gives the cookies a little lift without excessive spreading.
Salt – Balances the sweetness.
For the Icing
You’ll need:
- Powdered sugar
- Milk
- Light corn syrup
- Vanilla extract
Then divide a small amount of icing for the green leaves and brown stems while keeping most of it red.
👩🍳 How to Make Back-to-School Apple Cookies
1. Cream the Butter and Sugar
Place the softened butter and granulated sugar in a large mixing bowl.
Beat for approximately 2–3 minutes, until creamy and slightly lighter in color.
Don’t overbeat.
2. Add Egg and Vanilla
Add the egg and vanilla extract.
Mix until completely incorporated.
Scrape down the sides of the bowl when necessary.
3. Combine the Dry Ingredients
In another bowl, whisk together:
- Flour
- Baking powder
- Salt
4. Make the Dough
Gradually add the dry ingredients to the butter mixture.
Mix just until a soft dough forms.
Avoid excessive mixing once the flour has been incorporated.
5. Chill
Divide the dough into two discs.
Wrap and refrigerate for approximately 1 hour.
Chilling helps prevent the apple shapes from spreading.
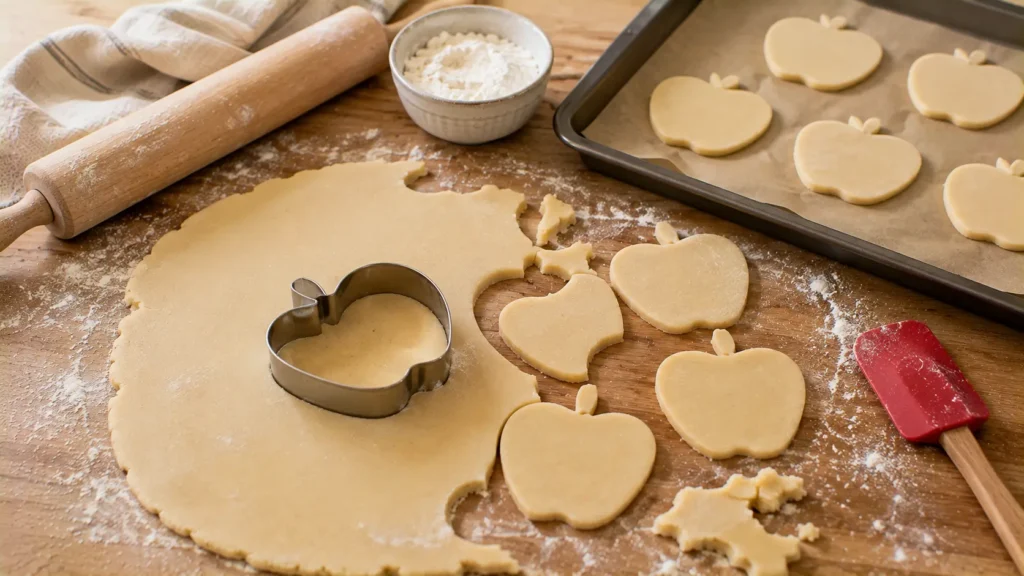
6. Roll the Dough
Preheat the oven to 350°F (175°C).
Roll the chilled dough on a lightly floured surface to approximately ¼-inch thickness.
7. Cut the Apples
Use an apple-shaped cookie cutter to cut the dough.
Transfer the cookies carefully to parchment-lined baking sheets.
Leave some space between them.
8. Bake
Bake for approximately 9–11 minutes.
The cookies should look set, but the centers should remain fairly pale.
The very edges may become lightly golden.
9. Cool Completely
Let the cookies rest on the baking sheet for about 5 minutes.
Transfer them to a cooling rack.
Do not decorate warm cookies.
10. Prepare the Icing
Whisk powdered sugar, milk, corn syrup, and vanilla until smooth.
The icing should be thick enough to remain on the cookie while still spreading easily.
11. Color the Icing
Keep most of the icing red.
Color a small amount green for the leaves and another small portion brown for the stems.
12. Decorate
Cover the apple portion of each cookie with red icing.
Add a small green leaf and brown stem.
The cookies don’t need to look identical. Slight variation actually gives them a more charming homemade appearance.
13. Let the Icing Set
Leave the cookies uncovered at room temperature until the icing has completely set before stacking or packing.
🎒 Back-to-School Serving Ideas
These work especially well for:
- First-day-of-school treats
- After-school snacks
- Back-to-school parties
- Teacher appreciation treats
- School-themed dessert tables
- Lunch box surprises
For lunch boxes, pack one cookie separately from moist fruit or refrigerated foods so the icing stays intact.
✨ Variations
Pencil Sugar Cookies
Use a pencil-shaped cutter and decorate with yellow, pink, and brown icing.
Notebook Cookies
Cut rectangular cookies and decorate them like simple sheets of notebook paper.
Mini Apple Cookies
Use a smaller apple cutter for bite-sized treats.
Green Apple Cookies
Decorate some cookies with green icing instead of red.
Cinnamon Apple Sugar Cookies
Add ½ teaspoon ground cinnamon to the cookie dough for a warmer flavor.
🔥 Tips for the Best Sugar Cookies
Chill the dough. This is one of the most important steps for maintaining the apple shape.
Don’t roll too thin. Approximately ¼ inch produces a softer cookie.
Bake similar sizes together. Small cookies bake more quickly than large ones.
Don’t overbake. Sugar cookies don’t need to become deeply golden.
Cool completely before decorating. Warm cookies will melt the icing.
Let the icing set before stacking. Otherwise, your designs can become damaged.
🥡 Storage
Room Temperature
Store completely set decorated cookies in an airtight container for up to 4–5 days.
Place parchment paper between layers.
Refrigerator
Refrigeration generally isn’t necessary and can sometimes affect the icing’s appearance.
Freezing Undecorated Cookies
Freeze baked, undecorated cookies in an airtight container for up to 2 months.
Thaw before decorating.
Freezing Cookie Dough
The dough can also be wrapped tightly and frozen for approximately 2 months.
Thaw overnight in the refrigerator before rolling.
❓ FAQs
How do I stop cut-out sugar cookies from spreading?
Chill the dough thoroughly, measure the flour accurately, and avoid placing cookie dough onto a warm baking sheet.
Can I make the dough the night before?
Yes. Refrigerate the wrapped dough overnight and let it soften only slightly before rolling.
Do I need an apple-shaped cookie cutter?
It’s the easiest method. If you don’t have one, a round cutter can also work with simple apple-style decoration.
Can I make these without corn syrup?
Yes, although corn syrup helps the simple icing dry smoother and gives it a subtle sheen.
How long does the icing need to set?
Allow several hours, depending on icing thickness and room conditions.
Can I make these ahead for a school event?
Yes. Bake the cookies ahead, then decorate them a day or two before they’re needed.
Apple-Shaped Back-to-School Sugar Cookies
Ingredients
Method
- Beat the softened butter and granulated sugar for 2–3 minutes until creamy.
- Add the egg and vanilla extract and mix until combined.
- In a separate bowl, whisk together the flour, baking powder, and salt.
- Gradually add the dry ingredients to the butter mixture and mix just until a soft dough forms.
- Divide the dough into two discs, wrap, and refrigerate for 1 hour.
- Preheat the oven to 350°F (175°C) and line baking sheets with parchment paper.
- Roll the chilled dough on a lightly floured surface to approximately 1/4-inch thickness.
- Cut into apple shapes and transfer carefully to the prepared baking sheets.
- Bake for 9–11 minutes until set with only lightly golden edges.
- Cool for 5 minutes on the baking sheet, then transfer to a cooling rack.
- Cool completely before decorating.
- Whisk together powdered sugar, 4 tablespoons milk, corn syrup, and vanilla to make the icing. Add additional milk gradually if necessary.
- Divide the icing and color the largest portion red, with smaller portions green and brown.
- Decorate each cookie with a red apple body, small green leaf, and brown stem.
- Allow the icing to set completely before storing or packing.