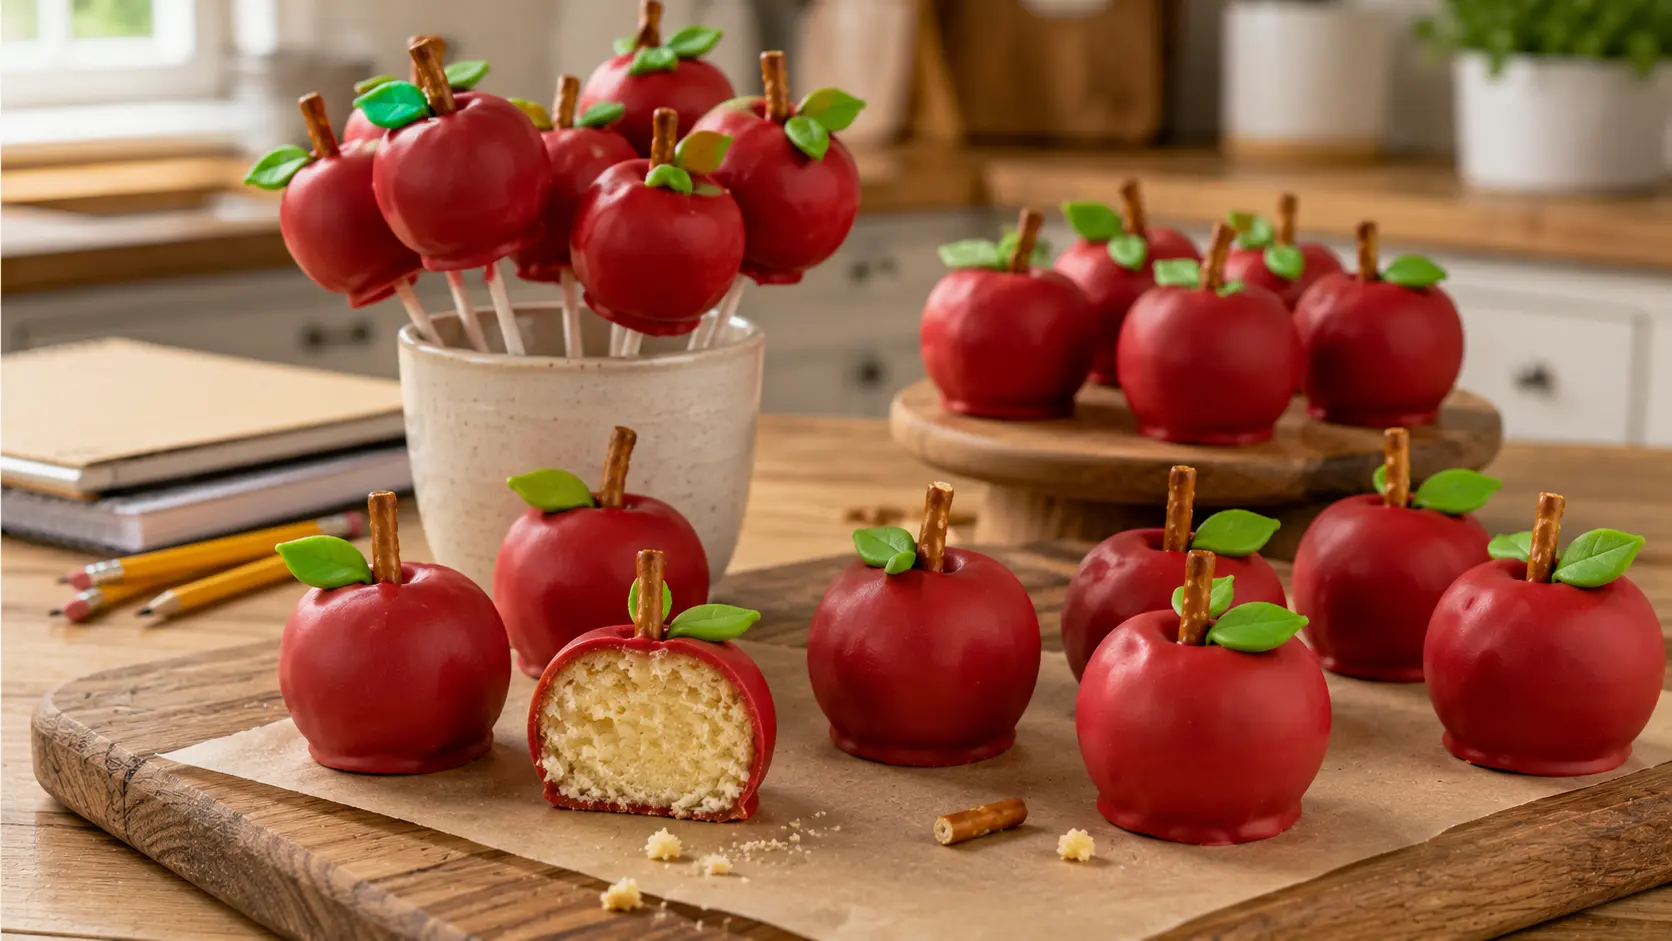
Ingredients
Method
- Bake the vanilla cake in a 9 x 13-inch pan according to your recipe or package directions. Cool completely.
- Trim away any particularly firm or dry cake edges if necessary.
- Crumble the cooled cake into a large mixing bowl until fine crumbs form.
- Add about 1/4 cup vanilla frosting and mix thoroughly.
- Continue adding frosting 1 tablespoon at a time until the cake mixture holds together when squeezed. Avoid making the mixture overly wet.
- Portion about 1 1/2 tablespoons of cake mixture for each cake pop.
- Roll each portion gently into a ball, then slightly flatten the top and bottom to create an apple-like shape.
- Make a small indentation in the top of each cake ball for the future stem.
- Arrange the cake balls on a parchment-lined tray.
- Refrigerate for approximately 1 hour, or until firm.
- Melt about 1/2 cup of the red candy coating until smooth.
- Dip approximately 1/2 inch of one end of each cake pop stick into the melted coating.
- Insert the coated end of each stick halfway into one chilled cake ball.
- Refrigerate for another 10–15 minutes.
- Melt the remaining red candy coating in a deep microwave-safe container, stirring frequently until smooth.
- If necessary, add a very small amount of neutral oil or candy-melt thinner until the coating reaches a smooth dipping consistency.
- Dip each cake pop vertically into the red coating until completely covered.
- Lift straight out and gently tap your wrist while slowly rotating the pop to allow excess coating to fall away.
- Before the coating completely sets, insert a short pretzel piece into the indentation at the top to create the apple stem.
- Place the cake pop upright in a cake-pop stand or foam block and allow the coating to set.
- Melt the green candy coating and transfer it to a small piping bag.
- Pipe one small green leaf beside each pretzel stem.
- Add optional decorations or sprinkles sparingly if desired.
- Allow all decorations to set completely before serving or storing.
Notes
Add the frosting gradually. Some cakes require less frosting depending on how moist they are.
The cake mixture should hold together easily without feeling wet or greasy.
Chill the shaped cake pops until firm, but do not freeze them completely immediately before dipping.
Dip the end of each cake pop stick into melted candy coating before inserting it into the cake ball. This helps secure the cake pop.
If the red candy coating is too thick, add candy-melt thinner or neutral oil a tiny amount at a time.
Use a narrow, deep container for the candy coating so each cake pop can be dipped completely.
Slightly irregular apple shapes create a more natural homemade appearance.
Store finished cake pops in an airtight container in the refrigerator for up to 5 days.