Best Easy Christmas Cake Pops with White Chocolate Drizzle
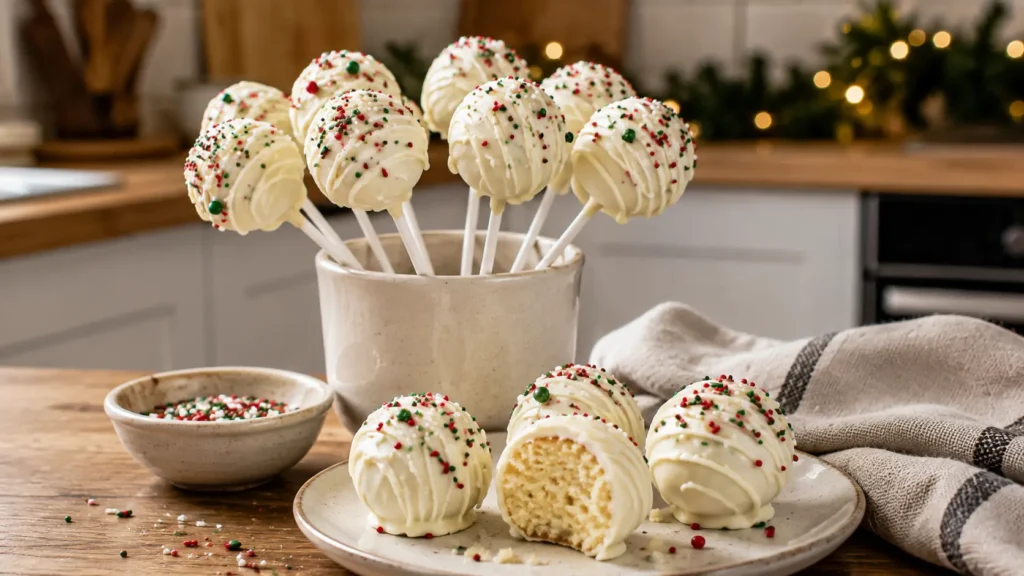
These Easy Christmas Cake Pops with White Chocolate Drizzle are the kind of holiday treat that disappears from the dessert table before the cookies even get a chance. Soft vanilla cake centers are mixed with just enough creamy frosting, dipped in a smooth festive coating, then finished with delicate white chocolate drizzle and red-and-green Christmas sprinkles.
They look impressive enough for a Christmas party or homemade holiday gift, but there’s no complicated decorating involved. You don’t need to sculpt tiny Christmas trees or spend hours piping designs—the simple white coating, contrasting drizzle, and festive sprinkles do all the work.
Even better, you can prepare much of the recipe ahead of time, making these little Christmas treats especially convenient during a busy holiday week.
Easy Christmas Cake Pops with White Chocolate Drizzle
Cake pops are essentially crumbled cake combined with a small amount of frosting, shaped into balls, chilled, placed onto sticks, and coated in melted confectionery coating.
The trick is getting the ratio right.
Too much frosting makes the centers overly soft and heavy. Too little makes the mixture crumble when you insert the sticks or dip the pops.
For this recipe, we’re using a completely cooled vanilla cake and adding the frosting gradually. The finished mixture should hold together easily when pressed without feeling wet or sticky.
Chilling the shaped cake balls also makes them considerably easier to work with. Another useful technique is dipping the end of each cake-pop stick into melted coating before inserting it into the cake ball. This helps anchor the pop to its stick.
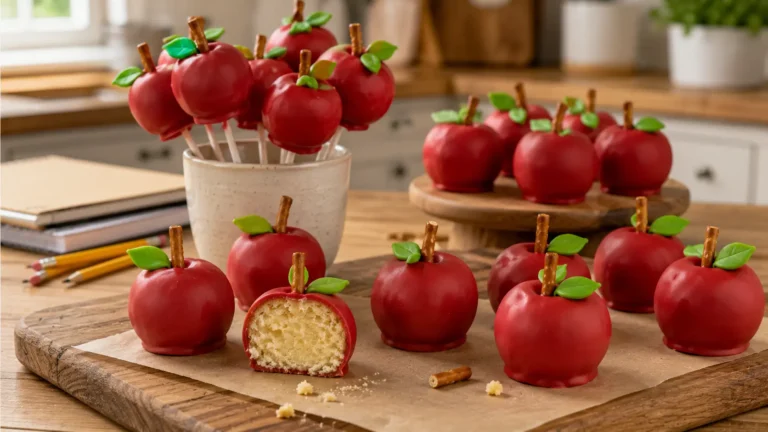
If you enjoyed making the Apple-Shaped Back-to-School Cake Pops, this Christmas version uses the same fun cake-pop concept but turns it into a simple holiday dessert.
Why You’ll Love These Christmas Cake Pops
🎄 Perfect for Christmas
White coating, white chocolate drizzle, and red-and-green sprinkles instantly turn ordinary cake pops into a festive holiday dessert.
🍰 Soft Cake Centers
The inside stays soft and cake-like rather than becoming an overly dense ball of frosting.
🤍 Easy Decorating
No detailed piping skills or complicated Christmas shapes are necessary.
🎁 Great for Gifting
Once completely set, individual cake pops can be packaged for Christmas treat boxes, parties, and edible gifts.
👧 Fun to Decorate
The simple drizzle-and-sprinkle finish makes these approachable for a family Christmas baking activity.
❄️ Make-Ahead Friendly
You can prepare the cake and shape the cake balls ahead of the final dipping and decorating stage.
Ingredients You’ll Need
Vanilla Cake
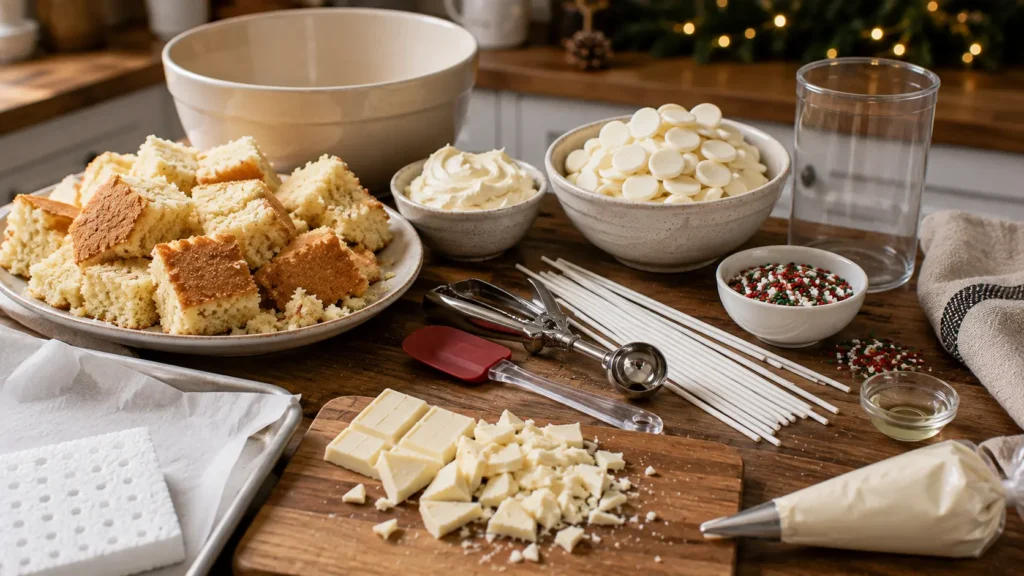
You’ll need approximately 4 cups of completely cooled vanilla cake crumbs.
A simple homemade vanilla cake works beautifully. You can also use a plain baked vanilla cake when convenience is the priority.
The cake MUST be completely cool before mixing it with frosting.
Warm cake can make the mixture overly soft.
Vanilla Frosting
Start with ⅓ cup vanilla frosting.
Don’t dump in extra frosting immediately.
Different cakes have different moisture levels, so mix first and add another tablespoon only if the crumbs genuinely won’t hold together.
White Candy Melts
You’ll need approximately 16 ounces white candy melts or white confectionery coating for dipping.
Candy coating is especially convenient for cake pops because it’s designed to melt and then set around the dessert.
White Chocolate
Use approximately 4 ounces good-quality white chocolate for the decorative drizzle.
This creates a subtle texture contrast over the set outer coating.
Neutral Oil
About 1 teaspoon neutral oil, divided as needed, can help thin overly thick coating.
Use only a little. You want the coating fluid enough for dipping without becoming so thin that it slides off the cake pops.
Christmas Sprinkles
Use approximately ¼ cup red, green, and white Christmas sprinkles.
A mixture of jimmies and small nonpareils gives the pops a naturally festive appearance.
Cake-Pop Sticks
You’ll need approximately 24 plain cake-pop or lollipop sticks.
Six-inch sticks are a convenient size for serving.
How to Make Christmas Cake Pops
1. Cool the Cake Completely
Before beginning, make sure your vanilla cake has cooled all the way through.
Don’t rush this step.
2. Crumble the Cake
Break the cooled cake into large pieces and place them in a large mixing bowl.
Use clean fingers or a fork to crumble the cake until you have fine, fairly even crumbs.
Break apart any large pieces.
3. Add the Frosting
Add ⅓ cup vanilla frosting.
Begin mixing the frosting into the cake crumbs.
4. Check the Consistency
Take a small amount and squeeze it together.
It should hold its shape without cracking apart, but it shouldn’t feel wet, greasy, or frosting-heavy.
If necessary, add another tablespoon of frosting.
5. Portion the Cake Mixture
Use a small cookie scoop to portion the mixture.
Approximately 1½ tablespoons per pop creates a convenient medium-sized cake pop.
Using a scoop helps keep the pops reasonably consistent in size.
6. Roll into Balls
Gently roll each portion between your palms.
Don’t squeeze excessively.
The balls should be compact enough to stay together while retaining a soft cake texture.
7. Arrange on a Baking Sheet
Place the shaped cake balls on a parchment-lined baking sheet.
You should have approximately 22–24 cake balls.
8. Chill
Refrigerate for approximately 1½–2 hours, or until firm.
This makes inserting the sticks and dipping considerably easier.
9. Melt Some of the White Coating
Melt a small amount of the white candy coating according to package directions.
Make sure your bowl and utensils are completely dry because moisture can cause confectionery coating to seize.
10. Anchor the Sticks
Dip approximately ½ inch of one end of a cake-pop stick into the melted coating.
Immediately insert it into the center of a chilled cake ball, going roughly halfway through.
Repeat with the remaining cake balls.
This little coating “glue” helps keep the cake balls attached to their sticks.
11. Chill Again
Return the cake pops to the refrigerator for approximately 10 minutes, allowing the anchors to become firm.
12. Melt the Remaining Coating
Place the remaining white candy coating in a tall microwave-safe glass or narrow bowl.
Melt according to the package instructions, stirring frequently.
A tall, relatively narrow container makes it easier to submerge the cake pop without needing an excessive amount of coating.
13. Adjust the Consistency
The melted coating should flow smoothly from a spoon.
If it’s excessively thick, add a very small amount of neutral oil and stir thoroughly.
Avoid overheating it.
14. Dip the Cake Pops
Work with a few chilled cake pops at a time.
Lower one cake pop straight into the melted coating until the entire cake ball is submerged and the coating reaches the base around the stick.
15. Remove Excess Coating
Lift the cake pop straight out.
Very gently tap the stick against the side of the container while rotating it slightly.
Let the excess coating fall back into the container.
Don’t aggressively shake the pop.
16. Let the Coating Set
Place the cake pop upright in a cake-pop stand, foam block, or sturdy box with small holes punched into the top.
Keeping them upright allows the coating to set without flattening one side.
Repeat with the remaining pops.
17. Melt the White Chocolate
Once the base coating has set, melt the white chocolate gently.
Microwave it in short intervals, stirring thoroughly between each interval.
Transfer it to a small piping bag or zip-top bag.
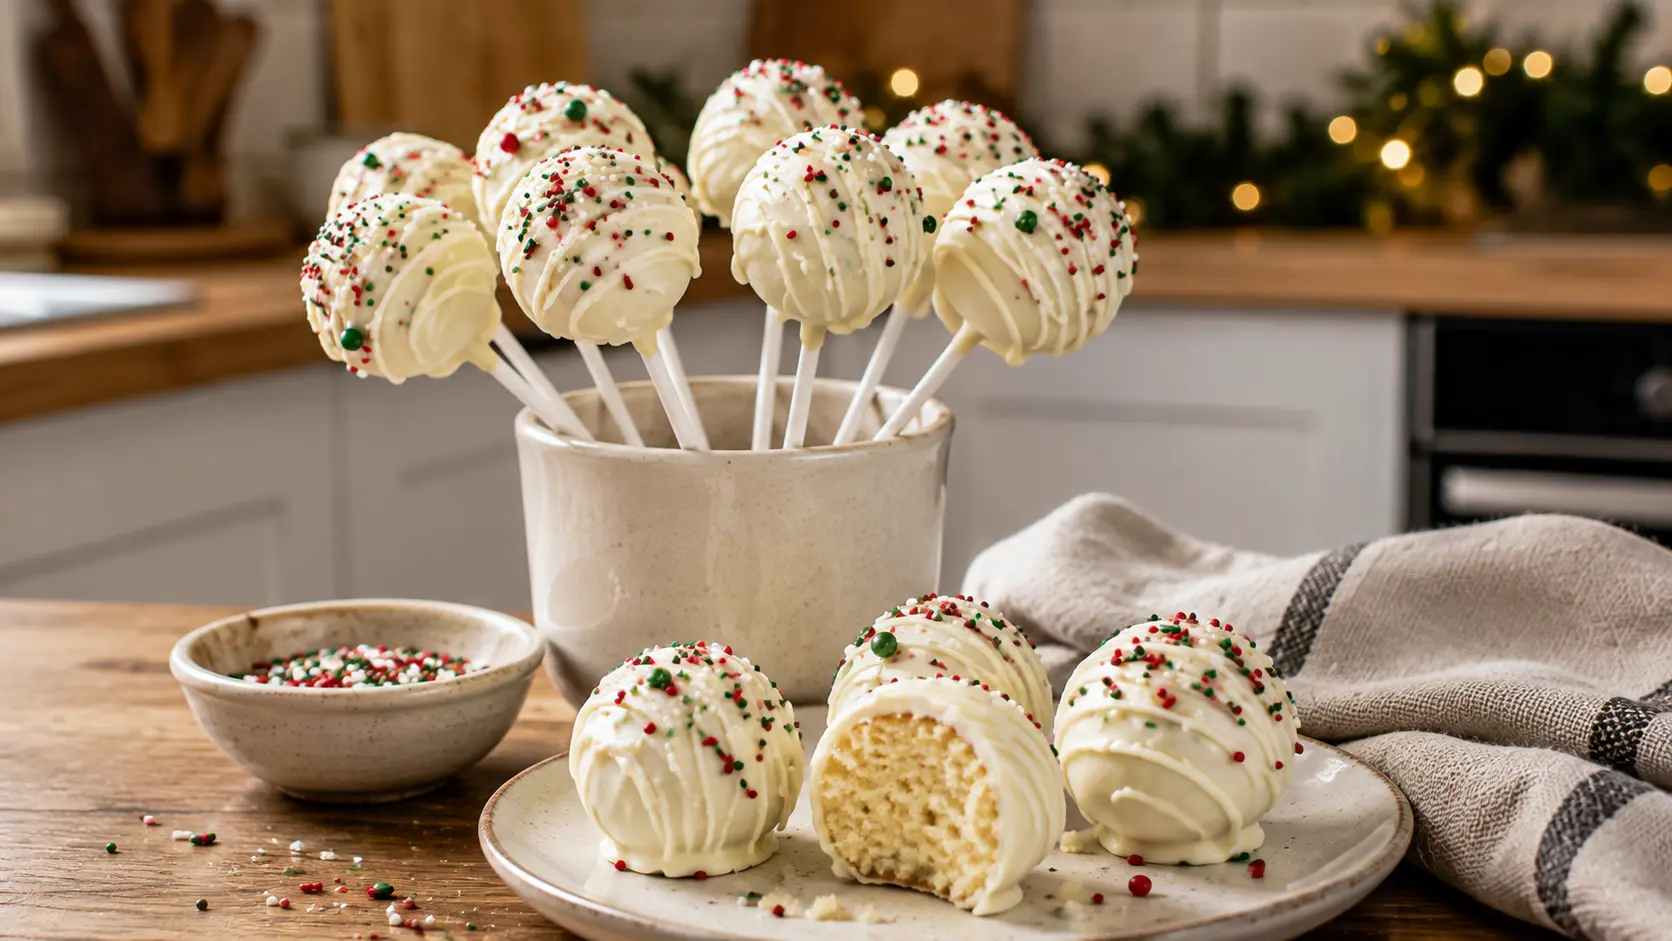
18. Drizzle the Cake Pops
Cut a very tiny opening from the corner.
Move the white chocolate quickly from side to side over each cake pop to create thin, irregular drizzle lines.
Don’t try to make every cake pop identical.
19. Add Christmas Sprinkles
Immediately add red, green, and white Christmas sprinkles while the drizzle is still wet.
That allows the sprinkles to stick without covering the entire pop.
20. Let Them Set
Leave the decorated cake pops upright until the white chocolate drizzle is completely firm.
Then they’re ready for your Christmas dessert table.
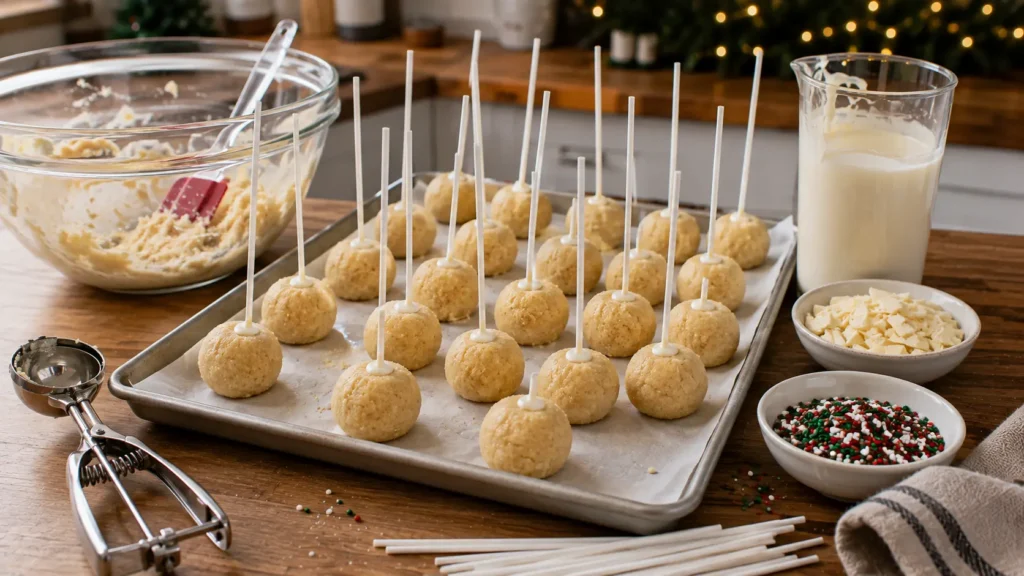
Equipment
- Large mixing bowl
- Small cookie scoop
- Baking sheet
- Parchment paper
- Microwave-safe bowl or measuring cup
- Silicone spatula
- Cake-pop sticks
- Cake-pop stand, foam block, or sturdy cardboard box
- Small piping bag or zip-top bag
Christmas Cake Pop Variations
Chocolate Christmas Cake Pops
Use cooled chocolate cake and chocolate frosting for the centers while keeping the festive white exterior.
Red Velvet Christmas Cake Pops
Red velvet creates a beautiful surprise when someone bites through the white coating.
Christmas Confetti Cake Pops
Fold a small quantity of red and green jimmies into the cake mixture before shaping.
Avoid adding too many because you still need the cake mixture to hold together properly.
Snowball Cake Pops
Skip the red and green sprinkles and cover the freshly dipped white pops with fine white sprinkles or sparkling sugar.
Red and Green Drizzle
Instead of only white chocolate drizzle, divide some confectionery coating and tint it with oil-based candy coloring for red and green accents.
Don’t use ordinary water-based coloring in melted chocolate or candy coating.
Christmas Tree Cake Pops
For a more elaborate version, shape the cake mixture into small cones rather than balls and decorate them like miniature Christmas trees.
For this recipe, though, round pops keep everything much easier.
Pro Tips for Perfect Cake Pops
Don’t add too much frosting. Start small. You can always add more, but you can’t easily remove it.
Chill before dipping. Firm cake balls are much easier to coat.
But don’t dip rock-hard frozen pops directly into very warm coating. A large temperature difference can contribute to cracking as the coating sets.
Anchor your sticks. Dip the stick in melted coating before inserting it into the cake ball.
Use a deep dipping container. You want to submerge the cake ball rather than roll it repeatedly through a shallow puddle.
Don’t stir water into candy coating. Keep bowls and utensils dry.
Tap gently. Aggressive tapping can knock the cake ball straight off its stick.
Keep decorations simple. Thin drizzle plus a modest amount of Christmas sprinkles looks festive without hiding the cake pop.
Let the base coating set before drizzling. Otherwise the two layers can blend together instead of creating distinct lines.
How to Store Christmas Cake Pops
Once completely set, place the cake pops in an airtight container.
For this homemade version, I recommend keeping them refrigerated, especially when preparing them several days ahead. Bring them out shortly before serving so the centers aren’t refrigerator-cold.
A well-sealed container also helps protect them from refrigerator odors and moisture.
Can You Make Christmas Cake Pops Ahead of Time?
Absolutely.
One of the easiest approaches is to bake the cake one day ahead, cool it completely, and keep it covered.
You can also prepare and shape the undipped cake balls ahead of the decorating day.
That splits the project into manageable stages—which is particularly useful when you’re preparing several Christmas desserts.
Can You Freeze Christmas Cake Pops?
Yes.
Cake pops can be frozen, although you need to protect them carefully from freezer moisture.
For the simplest make-ahead method, freeze the undipped cake balls in a well-sealed freezer-safe container or bag.
Cake-pop guidance from both Wilton and Sally’s Baking Addiction indicates that undipped cake balls can be frozen for up to about 6 weeks.
Thaw them in the refrigerator before continuing with the dipping process.
Frequently Asked Questions
Why Are My Cake Pops Falling Off the Stick?
The cake mixture may be too soft, the cake balls may not have chilled sufficiently, or the stick may have been inserted too far.
Also make sure you’re dipping the end of the stick into melted coating before inserting it.
Why Did My Christmas Cake Pops Crack?
A major temperature difference between very cold cake balls and warm coating can cause problems.
Don’t take rock-hard frozen cake balls and immediately plunge them into very warm coating. Wilton specifically recommends allowing extremely cold pops to warm somewhat before dipping to reduce cracking.
Why Is My Coating So Thick?
It may have been overheated or may simply need thinning.
Use the appropriate thinning product for your coating or a very small amount of neutral oil when suitable.
Can I Use Real White Chocolate Instead of Candy Melts?
Yes, but real white chocolate behaves differently and can be more temperamental.
For an easy Christmas cake pop recipe, confectionery coating is generally more forgiving for the main dip. We’re saving the white chocolate for the drizzle, where it’s easier to manage.
Why Is My Coating Lumpy?
It may not be completely melted, or it may have come into contact with moisture.
Continue stirring gently if unmelted pieces remain.
Can I Use Boxed Cake Mix?
Yes.
If convenience matters more than making the cake from scratch, a vanilla boxed cake works perfectly well for this style of dessert. Wilton also recommends boxed cake as an easy option for cake pops.
Can I Make These Without Sticks?
Definitely.
Leave out the sticks, dip the chilled cake balls with a dipping tool or fork, and turn them into Christmas cake truffles instead.
How Do I Get Smooth Cake Pops?
Make sure the cake balls are smoothly shaped before chilling and that the melted coating is fluid enough for dipping.
Submerge the cake pop once rather than repeatedly dipping it.
When Should I Add the Sprinkles?
For this particular design, add them immediately after the white chocolate drizzle.
The wet drizzle acts as the adhesive.
How Many Cake Pops Does This Recipe Make?
Approximately 22–24 medium cake pops, depending on how generously you portion them.
What to Serve with Christmas Cake Pops
These cake pops work especially well as part of a larger Christmas dessert tray.
For a cookie component, Brown Butter Pumpkin Snickerdoodle Cookies bring a warm spiced flavor that contrasts nicely with the vanilla and white chocolate.
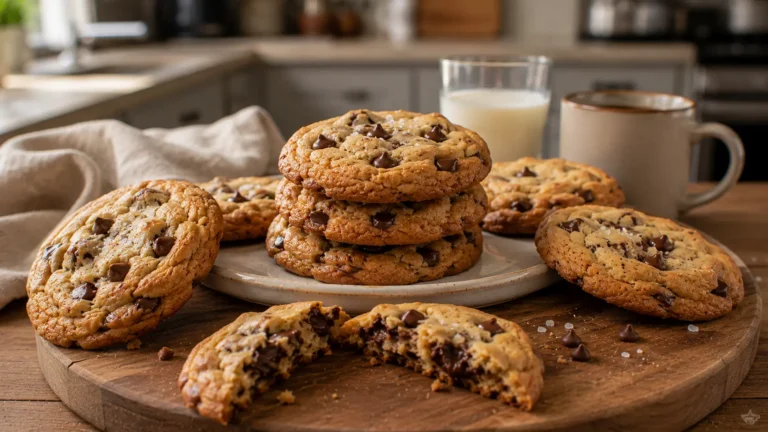
You could also add Perfect Chocolate Chip Cookies for something familiar that both adults and kids recognize immediately.
If you’re building a bigger holiday dessert table with fall flavors carrying into the Christmas season, Cinnamon Apple Cheesecake Bars add a richer sliced dessert alongside the smaller handheld cake pops.
And for another easy bite-size treat, Caramel Apple Pretzel Bites provide a salty-sweet contrast to the cake pops.
Nutrition
Nutrition will vary significantly depending on the cake, frosting, confectionery coating, white chocolate, and sprinkles used.
For the most accurate values on Yummizer, calculate nutrition through WPRM using the exact products and quantities entered into your recipe card.
Best Easy Christmas Cake Pops with White Chocolate Drizzle
Ingredients
Method
- Place completely cooled vanilla cake in a large mixing bowl and crumble finely.
- Add ⅓ cup vanilla frosting and mix thoroughly.
- Test the mixture by pressing a small amount together. Add additional frosting 1 tablespoon at a time only if needed.
- Scoop approximately 1½ tablespoons of mixture for each cake pop.
- Gently roll into balls and arrange on a parchment-lined baking sheet.
- Refrigerate for 1½–2 hours, until firm.
- Melt a small amount of the white candy coating according to package directions.
- Dip approximately ½ inch of each cake-pop stick into the coating.
- Insert the coated end halfway into a chilled cake ball.
- Repeat with all cake balls and refrigerate approximately 10 minutes.
- Melt the remaining white coating in a tall, narrow microwave-safe container.
- Thin slightly if necessary according to the coating instructions or with a very small amount of neutral oil where appropriate.
- Working with a few pops at a time, submerge each cake ball completely in the coating.
- Lift straight out and gently tap away excess coating.
- Place upright in a cake-pop stand or prepared sturdy box.
- Repeat with remaining cake pops and allow the coating to set.
- Gently melt the chopped white chocolate.
- Transfer to a small piping bag and cut a tiny opening.
- Drizzle white chocolate in thin lines over each set cake pop.
- Immediately decorate with red, green, and white Christmas sprinkles.
- Leave upright until completely set before serving or storing.