Cozy Small-Batch Apple Crisp for Two
Sometimes you want warm homemade apple crisp without making an entire family-sized baking dish. This Cozy Small-Batch Apple Crisp for Two gives you all the best parts of classic apple crisp—tender cinnamon-spiced apples, bubbling brown-sugar juices, and a buttery oat topping—in a portion designed for two.
It’s especially useful when you have just a couple of apples sitting in the kitchen or want a simple dessert for date night, a quiet fall evening, or an after-dinner treat without days of leftovers. The filling comes together with fresh apples, cinnamon, brown sugar, vanilla, and a little lemon juice, while the topping uses old-fashioned oats, flour, butter, and brown sugar for plenty of rustic crunch.
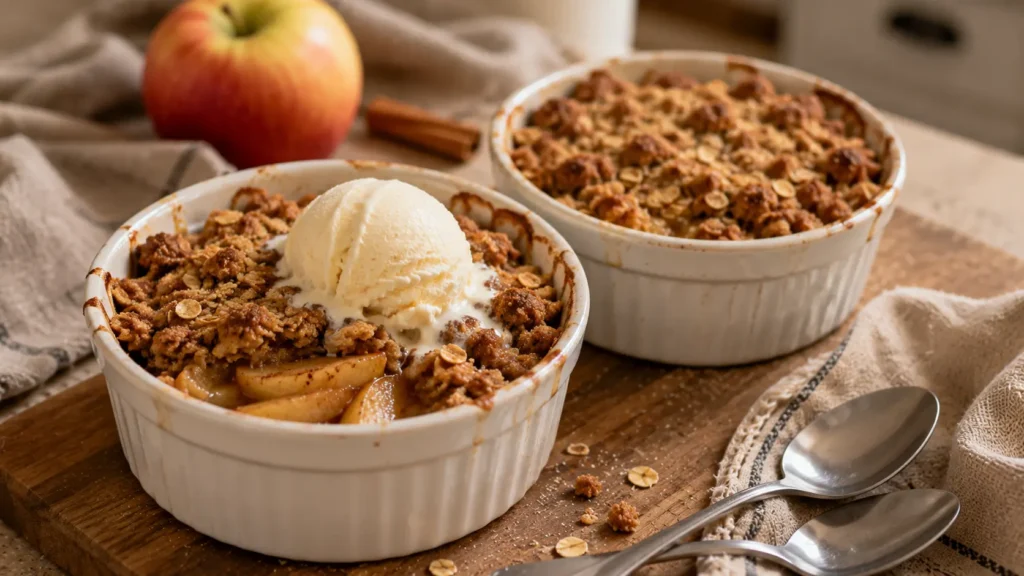
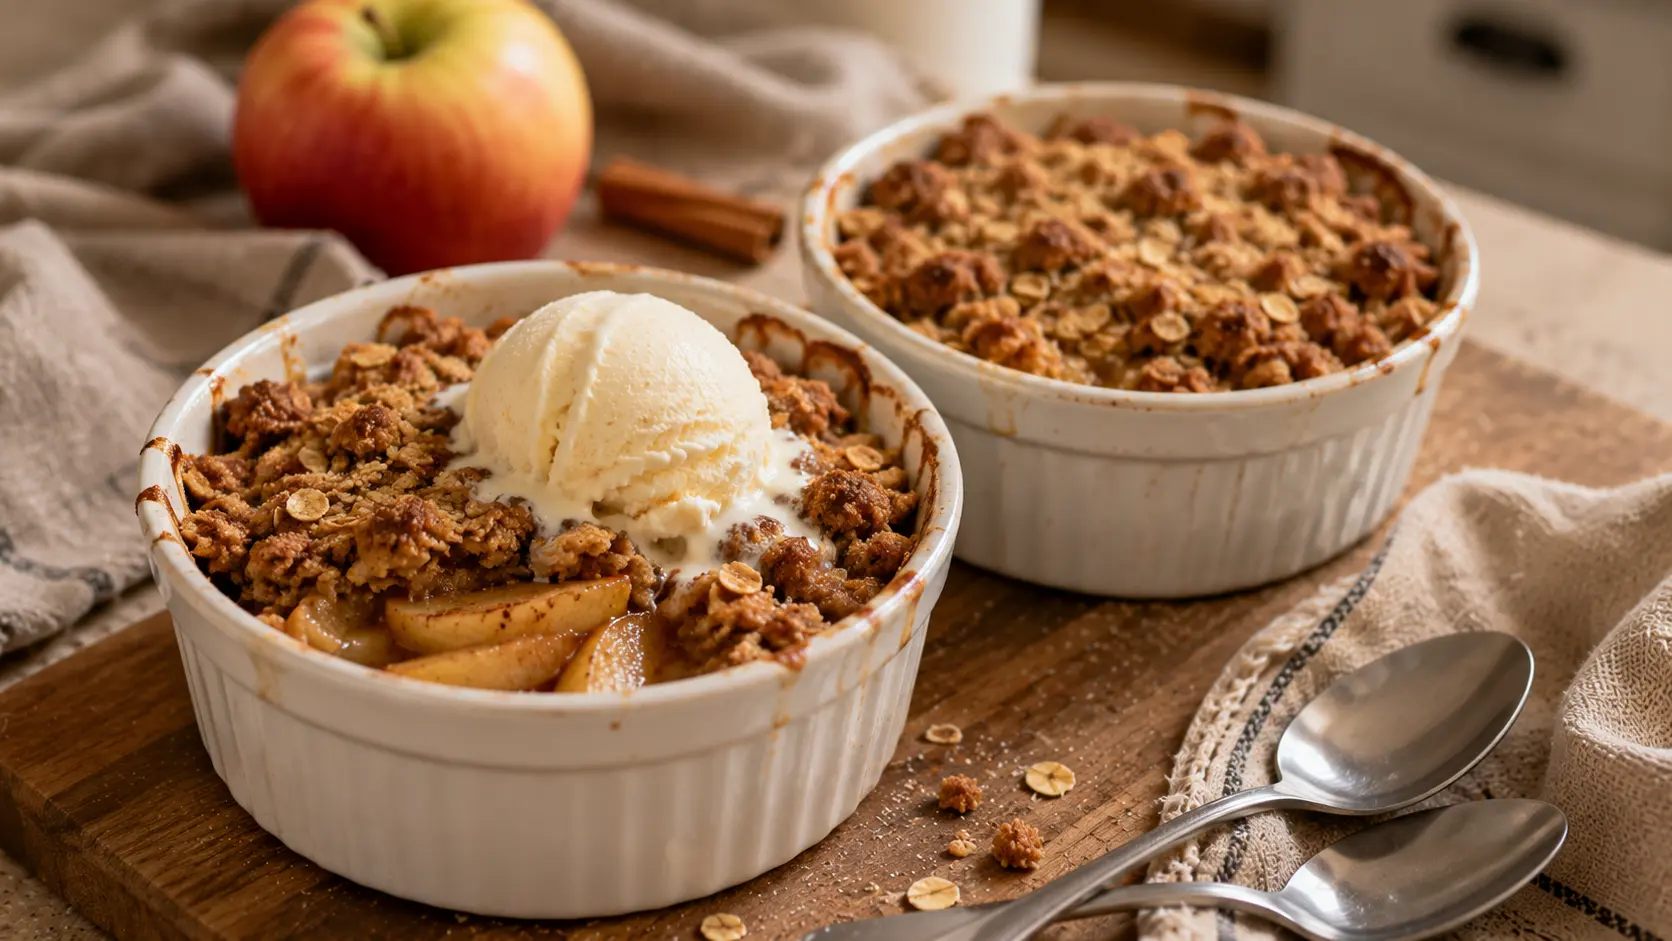
Serve it warm on its own, or add a small scoop of vanilla ice cream and let it soften over the crisp topping. It feels like a full autumn dessert without requiring a full-size pan.
Easy Small-Batch Apple Crisp for Two
A good apple crisp needs contrast.
The apples underneath should become tender and juicy without turning into applesauce, while the topping should remain crumbly and lightly crisp.
For a small batch, getting that balance right is particularly important because a smaller baking dish changes the ratio of filling to topping.
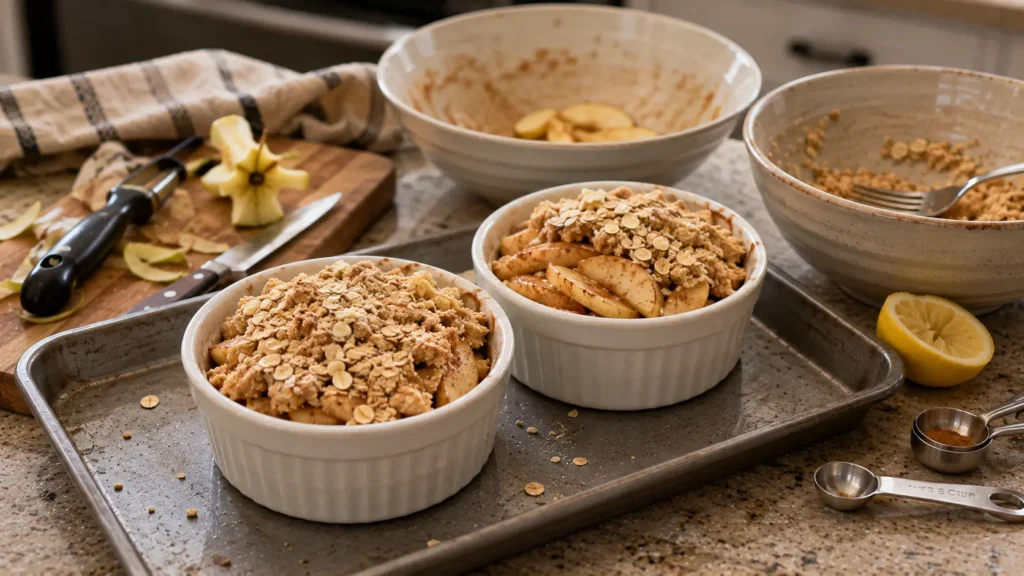
This version uses approximately 2 medium apples and fits comfortably into a small baking dish or two individual ramekins.
And if you’re looking for a larger fall dessert with both pumpkin and apple flavors, our Pumpkin Apple Crisp is a great option when you’re serving more people.
Why You’ll Love This Apple Crisp
- Made for two: No giant pan of leftovers.
- Simple ingredients: Mostly everyday baking staples.
- Quick preparation: About 10 minutes of hands-on work.
- No mixer required: Everything can be mixed by hand.
- Warm and cozy: Apples, cinnamon, vanilla, and brown sugar make it perfect for fall.
- Crispy oat topping: Buttery crumble contrasts with the tender apples.
- Easy to customize: Add nuts, extra spices, or berries.
- Perfect with ice cream: Especially while the crisp is still slightly warm.
Ingredients
Apples
Use 2 medium apples, approximately 2 cups once peeled, cored, and sliced.
A combination of sweet and tart apples creates particularly good flavor.
Granny Smith, Honeycrisp, Pink Lady, Braeburn, and Fuji can all work.
Avoid slicing the apples paper-thin. Slightly thicker slices hold their shape better while baking.
Brown Sugar
You’ll use brown sugar in both the apple filling and crisp topping.
Its subtle molasses flavor works beautifully with cinnamon and baked apples.
Fresh Lemon Juice
Use 1 teaspoon fresh lemon juice.
The acidity brightens the apples and balances the sweetness.
Vanilla Extract
Use ½ teaspoon vanilla extract in the filling.
Ground Cinnamon
Use ¾ teaspoon cinnamon, divided between the apples and topping.
Cornstarch
Use 1 teaspoon cornstarch.
It helps thicken the juices released by the apples so the bottom of the crisp doesn’t become excessively watery.
Old-Fashioned Rolled Oats
Use ⅓ cup old-fashioned rolled oats.
They give the topping its classic rustic texture.
Quick oats can become softer and less distinct during baking.
All-Purpose Flour
Use ¼ cup all-purpose flour.
The flour combines with butter and sugar to create crumbly clusters.
Unsalted Butter
Use 3 tablespoons cold unsalted butter, cut into small pieces.
Cold butter helps create irregular crumbs rather than a smooth paste.
Salt
Use a small pinch of fine salt.
It balances the sweetness and makes the caramelized apple flavors more noticeable.
How to Make Small-Batch Apple Crisp
1. Preheat the oven
Preheat your oven to 375°F (190°C).
Position a rack near the center.
2. Prepare the baking dish
Lightly grease a small baking dish approximately 5 × 7 inches, or use two oven-safe ramekins.
Place the dish on a small sheet pan if you’re concerned about bubbling juices spilling over.
3. Peel the apples
Peel both apples.
You can leave some peel on if you prefer a more rustic texture.
4. Core the apples
Remove the cores and seeds.
5. Slice
Cut the apples into slices approximately ¼-inch thick.
Don’t worry about making every piece identical.
6. Add lemon juice
Transfer the apples to a mixing bowl and toss with fresh lemon juice.
7. Add brown sugar
Add 1½ tablespoons brown sugar.
8. Add cinnamon
Sprinkle in ½ teaspoon ground cinnamon.
9. Add vanilla
Add ½ teaspoon vanilla extract.
10. Add cornstarch
Sprinkle 1 teaspoon cornstarch over the apples.
11. Toss
Gently toss until the apple slices are evenly but naturally coated.
12. Transfer to the baking dish
Arrange the apples loosely in the prepared dish.
They don’t need to lie in perfect layers.
13. Make the crisp topping
In a small bowl, combine:
- ⅓ cup old-fashioned oats
- ¼ cup all-purpose flour
- 3 tablespoons brown sugar
- ¼ teaspoon cinnamon
- small pinch salt
14. Add cold butter
Add the cold butter pieces.
15. Work in the butter
Using your fingertips or a fork, work the butter into the dry ingredients until you have irregular crumbs.
Some pieces should be tiny while others should form larger clusters.
16. Add the topping
Scatter the oat mixture naturally over the apples.
Don’t press it down.
Leave a few small gaps where the apples remain visible.
17. Bake
Bake at 375°F (190°C) for approximately 28–35 minutes.
18. Check the topping
The topping should become golden brown with several slightly darker toasted oat clusters.
19. Check the apples
Insert the tip of a small knife into an apple slice.
It should enter easily but the fruit should still have some structure.
20. Look for bubbling juices
You should see thickened apple juices gently bubbling around some of the edges.
21. Remove from the oven
Carefully remove the baking dish.
22. Rest
Let the apple crisp rest for 10–15 minutes.
This allows the hot fruit filling to cool slightly and the juices to thicken.
23. Serve
Divide between two bowls, or serve directly from two individual ramekins.
24. Add ice cream if desired
For a classic finish, add a small scoop of vanilla ice cream just before serving.
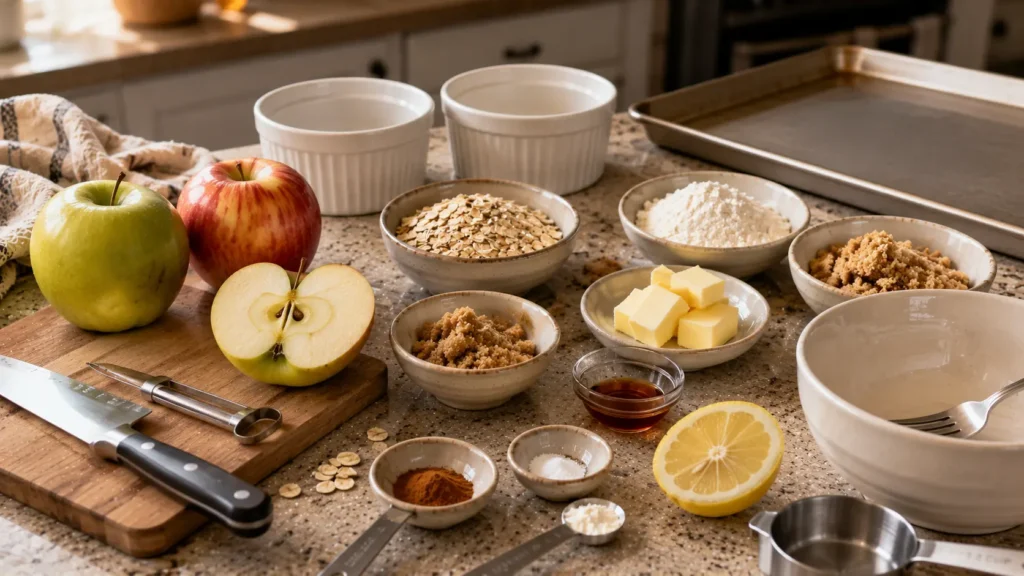
Equipment You’ll Need
- Small 5 × 7-inch baking dish or two ramekins
- Small sheet pan
- Cutting board
- Paring knife or chef’s knife
- Vegetable peeler
- Medium mixing bowl
- Small mixing bowl
- Measuring cups and spoons
- Fork or pastry cutter
Easy Variations
Small-Batch Apple Pecan Crisp
Add 2 tablespoons chopped pecans to the oat topping.
The nuts toast as the crisp bakes and add another layer of crunch.
Apple Cranberry Crisp
Replace a small portion of the apples with fresh or frozen cranberries.
You may want a little extra sugar because cranberries are considerably more tart.
Maple Apple Crisp
Replace part of the brown sugar in the filling with pure maple syrup.
Because syrup adds additional liquid, keep the amount modest.
Apple Pear Crisp
Replace one apple with a firm pear.
This gives the filling a softer floral sweetness.
Salted Caramel Apple Crisp
Drizzle a little salted caramel over each serving immediately before eating.
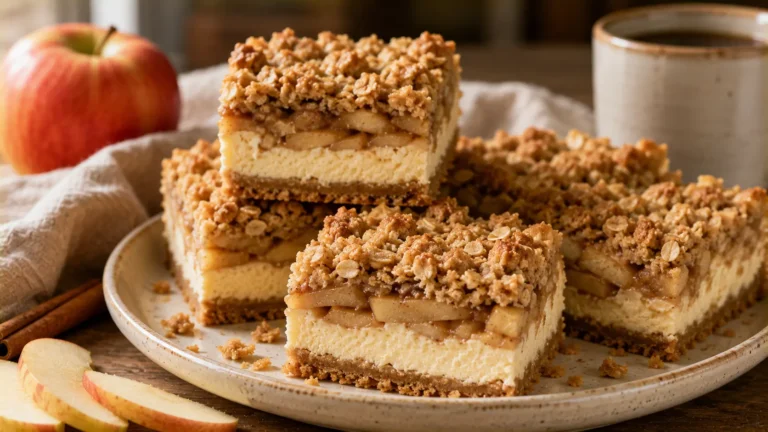
For a more indulgent caramel-and-apple dessert, our Best Salted Caramel Apple Crisp Cheesecake Bars combine apple crisp topping with cheesecake and caramel.
Which Apples Are Best for Apple Crisp?
Apples that maintain some structure during baking are usually the best choice.
Granny Smith gives you a tart flavor and holds up well under heat.
Honeycrisp provides more sweetness while still maintaining good texture.
Using one tart apple and one sweeter apple is particularly useful for this small-batch recipe because you get a more complex filling without needing several varieties.
Very soft apples can break down considerably during baking, which isn’t necessarily bad, but you’ll lose some of the distinct apple pieces.
Pro Tips for the Best Small Apple Crisp
Use cold butter. Warm or melted butter can turn the topping into a paste instead of creating crumbly clusters.
Don’t slice the apples too thinly. You want recognizable tender pieces after baking.
Use old-fashioned oats. They provide better texture than very finely processed oats.
Don’t press down the topping. Scatter it loosely so hot air can move between the crumbs.
Allow the crisp to rest. The apple juices will be extremely hot and will thicken slightly as they cool.
Watch your baking dish size. A much wider dish spreads the apples too thinly and changes the baking time.
Look for bubbling filling. Bubbling around the edges is a good indication that the thickener has had enough heat to work.
How Do You Keep Apple Crisp from Getting Soggy?
There are two different textures to protect: the fruit filling and the topping.
For the filling, a small amount of cornstarch thickens the apple juices rather than allowing them to pool at the bottom.
For the topping, cold butter and the right balance of oats and flour help create crumbly clusters.
You should also avoid covering the crisp while it’s still hot. Trapped steam can soften the topping.
If you’re making it ahead, allow it to cool before covering.
Can I Make Apple Crisp Without Peeling the Apples?
Yes.
Leaving the peel on saves time and adds texture.
However, some apple varieties have thicker skins that become more noticeable after baking.
For the softest classic filling, peel them. For a more rustic dessert, leave some or all of the peel intact.
Can I Make This in Two Ramekins?
Absolutely.
Two individual ramekins are ideal for this recipe.
Divide the apple mixture evenly between them and scatter half the topping over each.
Individual ramekins may bake a little faster than one deeper baking dish, so begin checking them early.
They also make serving easy—each person gets their own warm apple crisp.
Storage
This recipe intentionally makes a very small amount, so you may not have leftovers.
If you do, allow the crisp to cool before covering it.
Refrigerator
Store tightly covered in the refrigerator for up to 3–4 days.
Reheating
Reheat in a moderate oven until warm.
The oven will help restore some crispness to the oat topping better than the microwave.
A microwave works when you’re in a hurry, but the topping will become softer.
Frequently Asked Questions
Can I double the recipe?
Yes.
Use a larger baking dish and watch the baking time rather than assuming it will remain exactly the same.
Can I use quick oats?
You can, but old-fashioned rolled oats create a more distinctive crisp texture.
Can I make this gluten-free?
Use a suitable 1:1 gluten-free baking flour and certified gluten-free oats.
Can I use salted butter?
Yes. Simply omit or reduce the additional salt.
Can I prepare it ahead?
You can prepare the topping separately and refrigerate it.
For the best texture, assemble the apples and topping relatively close to baking.
Why is my apple crisp watery?
The apples may have released a large amount of juice, the cornstarch may have been omitted, or the filling may not have baked long enough to bubble and thicken.
Why isn’t my topping crispy?
The butter may have been too warm, the topping may have been packed down, or the crisp may need slightly more baking time.
What to Serve with Apple Crisp
Vanilla ice cream is the classic choice. The contrast between cold ice cream and warm cinnamon apples is hard to beat.
And the Creamy No-Churn Salted Caramel Ice Cream we just made would be especially good here—the salted caramel works naturally with both the baked apples and brown-sugar oat topping.
For another fall apple dessert, try our Cinnamon Apple Galette, which pairs tender apples with flaky pastry rather than an oat crumble.
Our Caramelized Apple & Cinnamon Puff Pastry Tart is another option when you want something crisp and pastry-based.
And if you’re planning a larger autumn dessert spread, Pumpkin Apple Crisp gives you a family-sized pumpkin-and-apple alternative to this small-batch version.
Nutrition Information
Approximate nutrition per serving without ice cream, based on 2 servings:
- Calories: 390
- Protein: 4g
- Carbohydrates: 61g
- Fat: 16g
- Saturated Fat: 9g
- Fiber: 6g
- Sugar: 36g
- Sodium: 90mg
Nutrition values are estimates and vary according to apple size, ingredients, and serving size.
Cozy Small-Batch Apple Crisp for Two
Ingredients
Method
- Preheat oven to 375°F (190°C).
- Lightly grease a small 5 × 7-inch baking dish or two oven-safe ramekins.
- Peel, core, and slice the apples approximately ¼-inch thick.
- Toss apples with lemon juice.
- Add brown sugar, cinnamon, vanilla, and cornstarch.
- Toss until evenly coated.
- Transfer apples to the prepared baking dish.
- Combine oats, flour, brown sugar, cinnamon, and salt in a small bowl.
- Add cold butter pieces.
- Work butter into the dry ingredients with a fork or fingertips until irregular crumbs form.
- Scatter the topping loosely over the apples.
- Bake for approximately 28–35 minutes.
- Check that the topping is golden and the apple juices are bubbling.
- Test an apple slice for tenderness.
- Remove from oven.
- Rest for 10–15 minutes.
- Divide between two servings.
- Serve warm, optionally with ice cream.
Notes
- Use apples that hold their shape during baking, such as Granny Smith, Honeycrisp, Pink Lady, or Braeburn.
- Combining one tart and one sweet apple gives the filling more balanced flavor.
- Keep the butter cold when preparing the topping.
- Don’t press the oat topping onto the apples.
- Two individual ramekins can be used instead of one small baking dish.
- Begin checking ramekins slightly earlier.
- Let the crisp rest before serving so the juices can thicken.
- Store leftovers covered in the refrigerator.