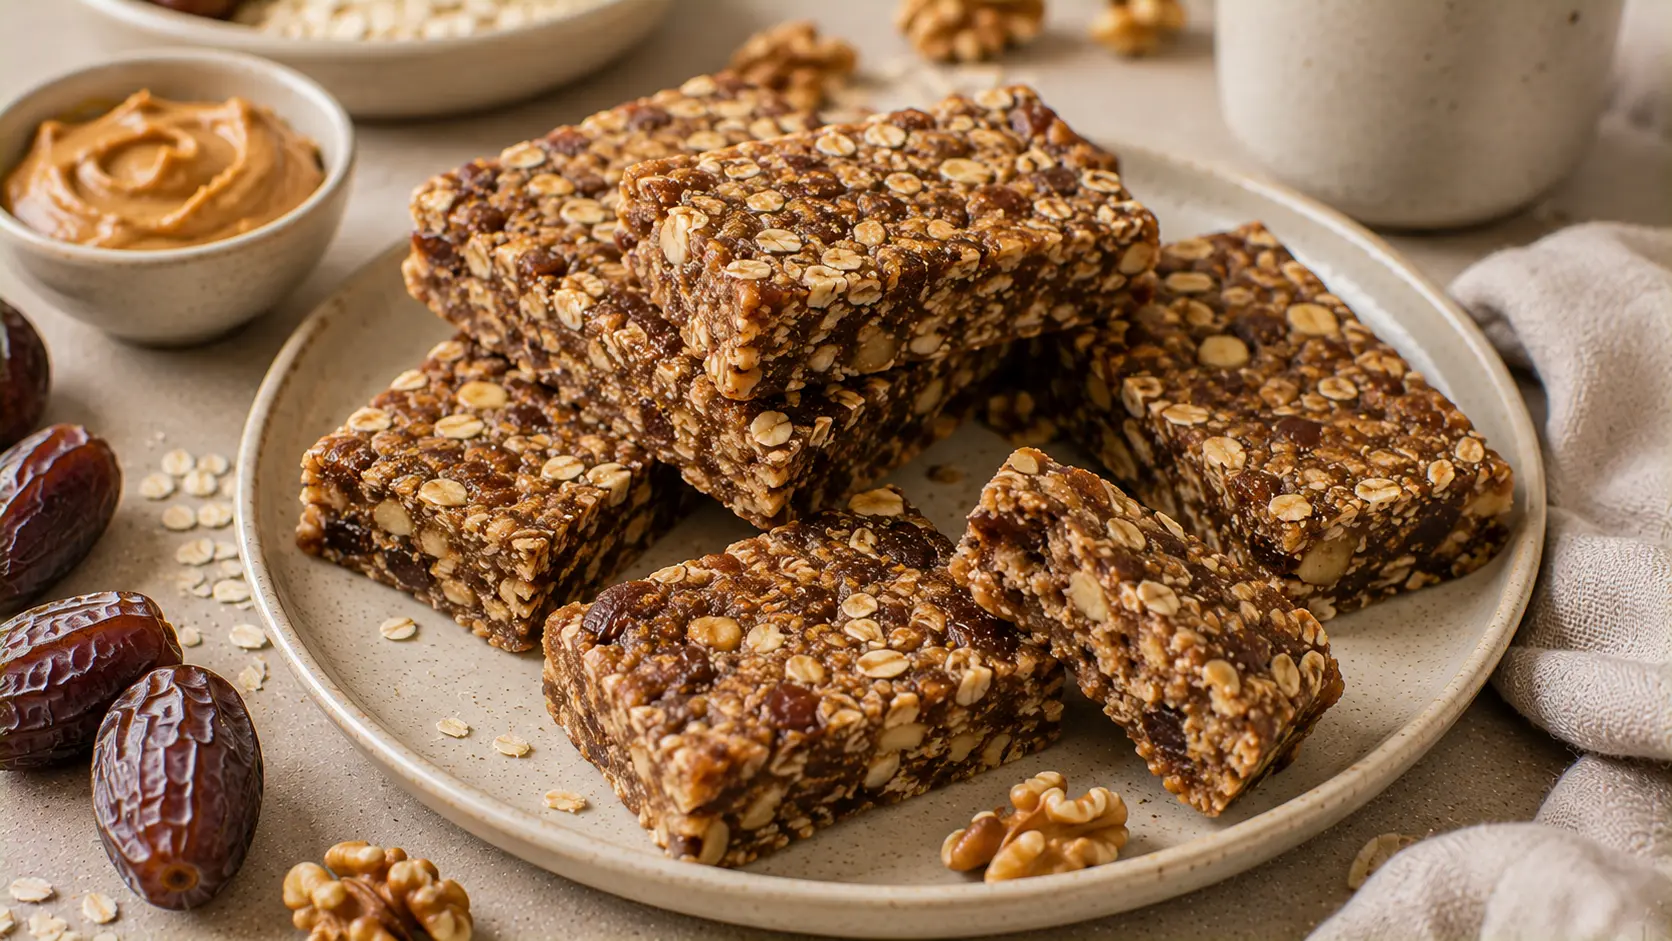
No-Bake Oatmeal Date Bars
These No-Bake Oatmeal Date Bars are soft, chewy breakfast bars made with naturally sweet dates, rolled oats, peanut butter, and a touch of cinnamon. No oven is required—just blend, press, chill, and slice.
They’re perfect for make-ahead breakfasts, quick snacks, or busy mornings when you want something easy to grab from the fridge.
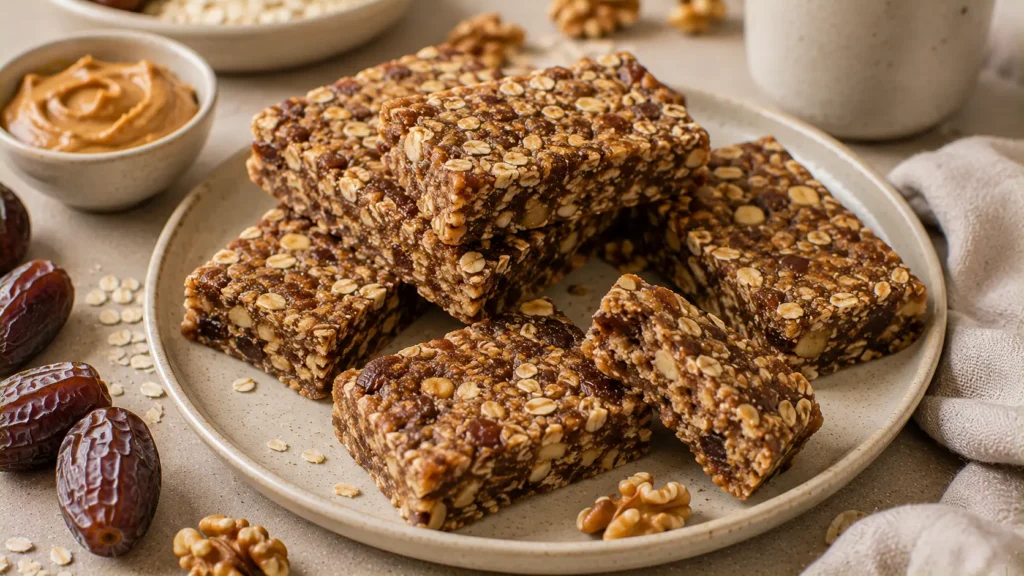
Easy No-Bake Oatmeal Date Bars
Dates are naturally sticky when blended, which makes them an excellent base for homemade no-bake bars.
Instead of using flour, eggs, or a traditional baked crust, these bars rely on dates and peanut butter to hold the oats together.
A little vanilla, cinnamon, and salt rounds out the flavor, while chopped walnuts add crunch.
Once pressed firmly into a pan and chilled, the mixture becomes easy to cut into thick, chewy bars.
⭐ Why You’ll Love This Recipe
- No oven required
- Only about 15 minutes of preparation
- Naturally sweetened with dates
- Great make-ahead breakfast
- Soft and chewy
- Easy meal prep
- Simple pantry ingredients
- Freezer-friendly
- Easy to customize
- Great grab-and-go option
🛒 Ingredients & Substitutions
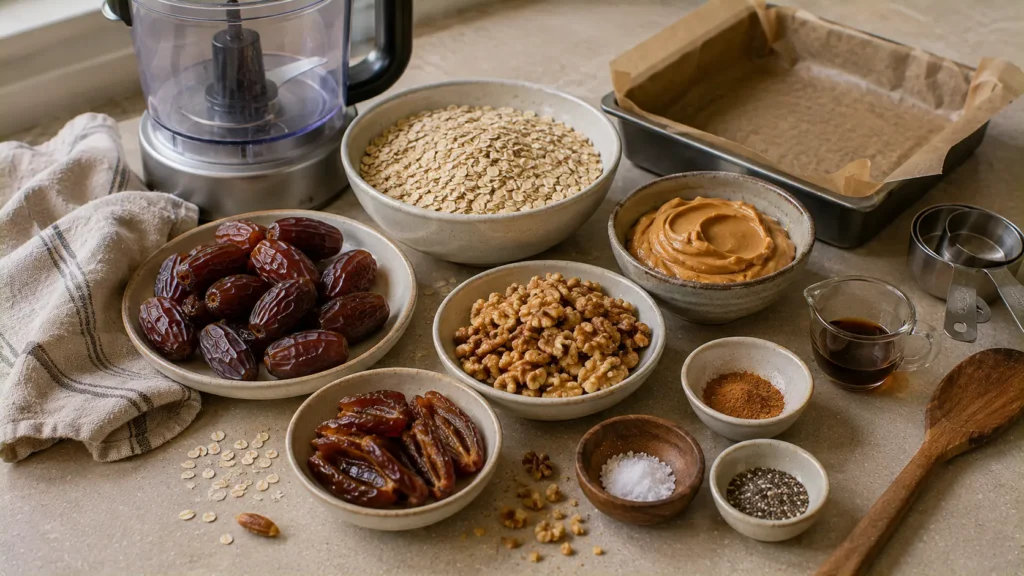
Medjool dates – Their soft, sticky texture makes them ideal for binding the bars. Remove all pits before blending.
Old-fashioned rolled oats – Give the bars their chewy texture.
Peanut butter – Adds richness and helps hold everything together. Almond or cashew butter can also work.
Walnuts – Add crunch and balance the soft date mixture. Pecans or almonds are good substitutes.
Vanilla extract – Adds warmth and sweetness.
Cinnamon – Pairs particularly well with oats and dates.
Salt – A small amount balances the natural sweetness.
Chia seeds – Optional, but easy to mix into the bars.
👩🍳 How to Make No-Bake Oatmeal Date Bars
1. Prepare the Pan
Line an 8-inch square pan with parchment paper.
Leave enough parchment hanging over two sides to make the bars easy to lift out later.
2. Check the Dates
Remove the pits from all the dates.
If your dates feel very firm or dry, place them in a bowl and cover with warm water for approximately 10 minutes.
Drain them thoroughly before continuing.
3. Process the Oats and Walnuts
Add the rolled oats and walnuts to a food processor.
Pulse several times until the walnuts are chopped and some of the oats have broken down.
Don’t process them into flour—you still want visible oat texture.
4. Add the Dates
Add the pitted dates to the food processor.
Pulse until the dates are broken into small sticky pieces.
5. Add the Peanut Butter
Add:
- Peanut butter
- Vanilla
- Cinnamon
- Salt
- Chia seeds, if using
Process again until the mixture begins sticking together.
6. Check the Texture
Pinch a small amount between your fingers.
It should hold together easily.
If the mixture seems unusually dry, add 1 tablespoon of warm water and pulse again.
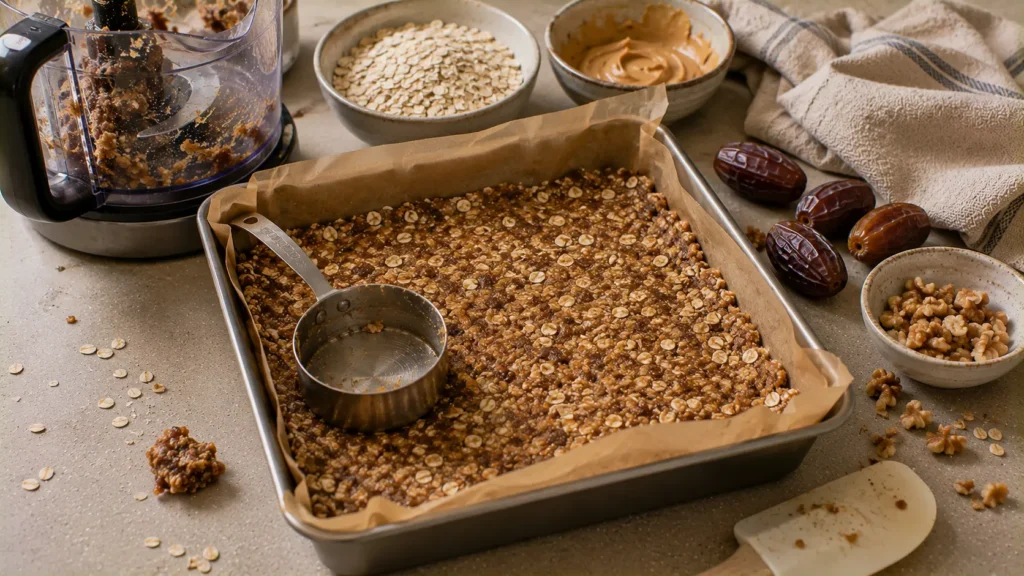
7. Press into the Pan
Transfer the mixture to the prepared pan.
Press it down very firmly and evenly.
Use the bottom of a flat measuring cup or glass to compact the mixture.
8. Chill
Refrigerate for at least 1 hour.
This gives the bars time to firm up and makes them easier to slice.
9. Slice
Use the parchment paper to lift the chilled mixture from the pan.
Place it on a cutting board.
Cut into approximately 12 bars.
10. Serve
Enjoy straight from the refrigerator or let a bar sit at room temperature for a few minutes for a softer texture.
✨ Variations
Chocolate Date Bars
Add mini dark chocolate chips after processing.
Coconut Oatmeal Date Bars
Mix in unsweetened shredded coconut.
Almond Butter Date Bars
Replace peanut butter with almond butter.
Pecan Date Bars
Use pecans instead of walnuts.
Chocolate Peanut Butter Bars
Add unsweetened cocoa powder to the mixture.
Cranberry Date Bars
Add a small amount of dried cranberries for extra chewiness.
Nut-Free Date Bars
Use sunflower seed butter and replace walnuts with pumpkin or sunflower seeds.
🔥 Tips for the Best Date Bars
Use soft dates. Fresh, sticky Medjool dates make the mixture much easier to bind.
Always check for pits. Even packages labeled pitted can occasionally contain fragments.
Don’t pulverize the oats. Keeping some oat texture makes the finished bars more satisfying.
Press firmly. Loosely packed bars are much more likely to crumble.
Chill before slicing. Cutting them immediately makes clean slices difficult.
Keep them refrigerated. They maintain their shape and chewy texture better when cool.
🥡 Storage & Meal Prep
Refrigerator
Store the bars in an airtight container for up to 1 week.
Place parchment between layers if stacking.
Freezer
These bars freeze very well.
Wrap individually or separate them with parchment and store in a freezer-safe container for up to 3 months.
Serving from Frozen
Let a frozen bar sit at room temperature for approximately 10–15 minutes before eating.
Grab-and-Go Breakfast
Store individually wrapped bars in the refrigerator so they’re ready for busy mornings.
❓ FAQs
Do I need to bake oatmeal date bars?
Not this recipe. The dates and peanut butter bind the oats together, and chilling firms the mixture.
What dates work best?
Soft Medjool dates are ideal because they’re large, naturally sweet, and sticky.
Why are my date bars falling apart?
The dates may have been too dry, or the mixture may not have been pressed firmly enough.
Can I use quick oats?
Yes, although old-fashioned rolled oats provide a chewier texture.
Can I make these without peanut butter?
Yes. Almond, cashew, or sunflower seed butter can be substituted.
Do No-Bake Oatmeal Date Bars need refrigeration?
Refrigeration is recommended because it keeps them firm and fresh.
Can I freeze them?
Yes. They’re excellent for freezer meal prep.
No-Bake Oatmeal Date Bars
Ingredients
Method
- Line an 8-inch square pan with parchment paper, leaving an overhang on two sides.
- Remove all pits from the dates.
- If the dates are firm or dry, soak them in warm water for 10 minutes, then drain thoroughly.
- Add the rolled oats and walnuts to a food processor.
- Pulse several times until the walnuts are chopped and some of the oats are broken down while plenty of oat texture remains.
- Add the dates and pulse until broken into small sticky pieces.
- Add the peanut butter, vanilla, cinnamon, salt, and optional chia seeds.
- Process until the mixture begins to clump together.
- Pinch some mixture between your fingers. If it does not hold together, add 1 tablespoon of warm water and pulse again.
- Transfer the mixture to the prepared pan.
- Press down very firmly and evenly using the bottom of a measuring cup or glass.
- Refrigerate for at least 1 hour.
- Lift the chilled mixture from the pan using the parchment paper.
- Cut into 12 bars.
- Store refrigerated until ready to serve.